Today I’m going to show y’all how to create some simple watercolor pumpkins using Tombow Dual Brush Pens. You don’t need to be a “watercolor artist” (I’m definitely not!) to follow this tutorial, and you don’t need a bunch of fancy paint. In fact, you don’t need any paint because I’m going to show you how to use your Dual Brush Pens to create watercolor!
Supplies List
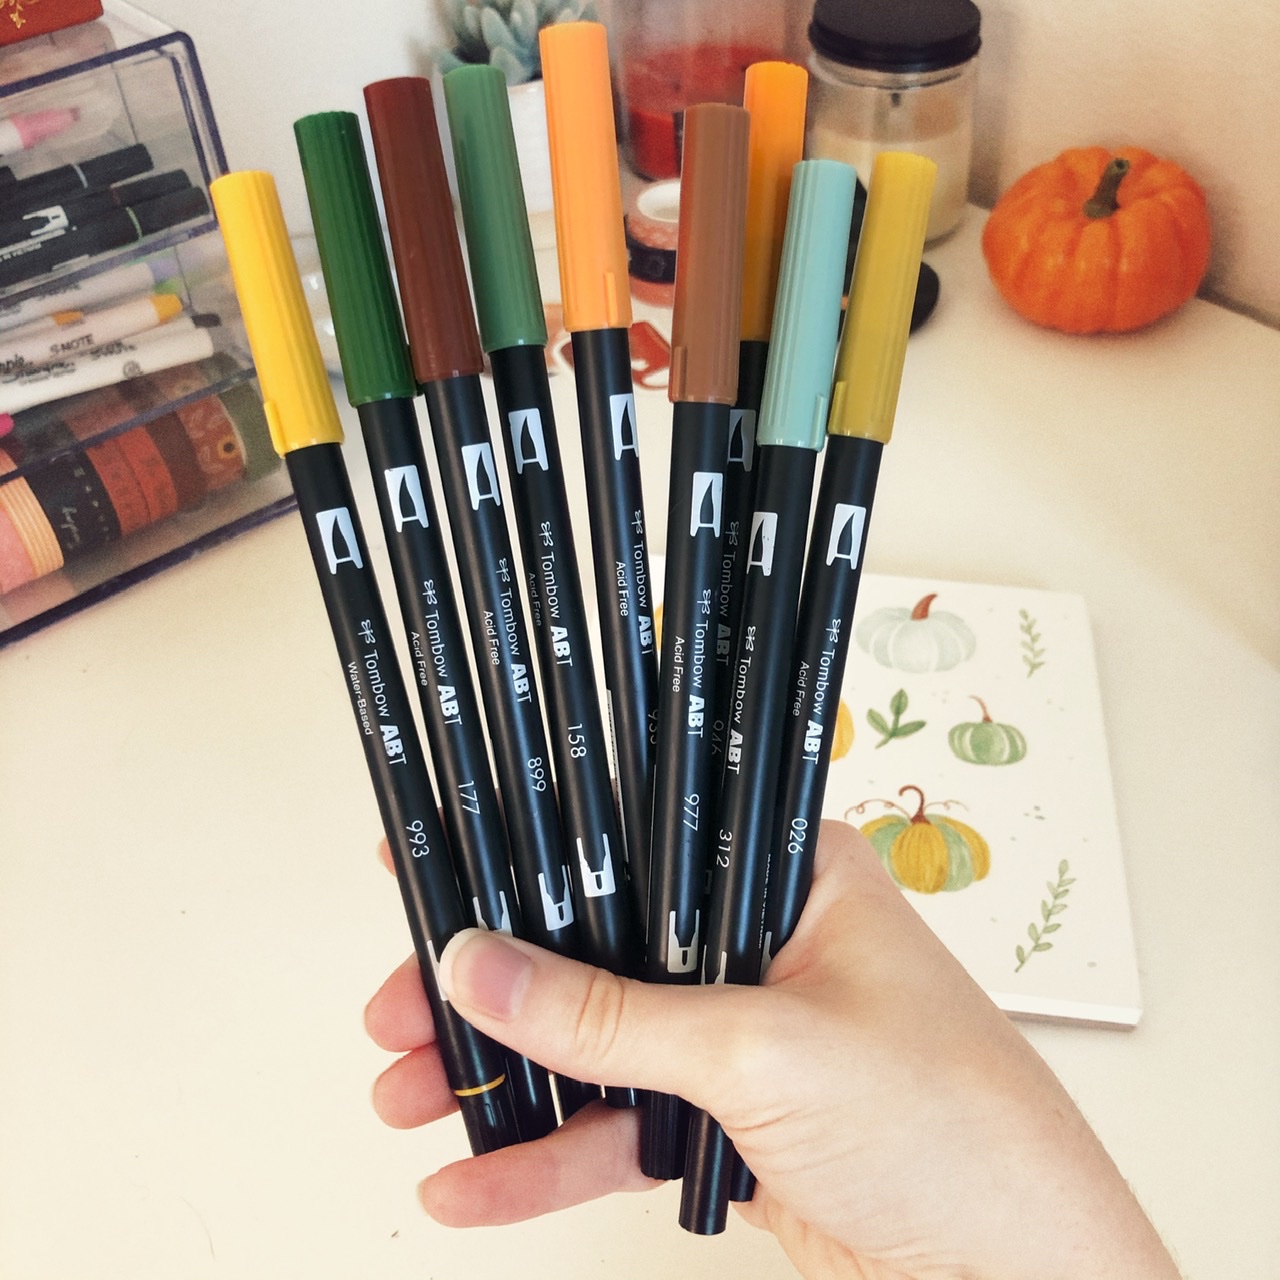
- Tombow Dual Brush Pens: No’s. 993, 177, 899, 158, 933, 977, 312, 026, & 946
- Watercolor Paper Pad
- Watercolor Palette
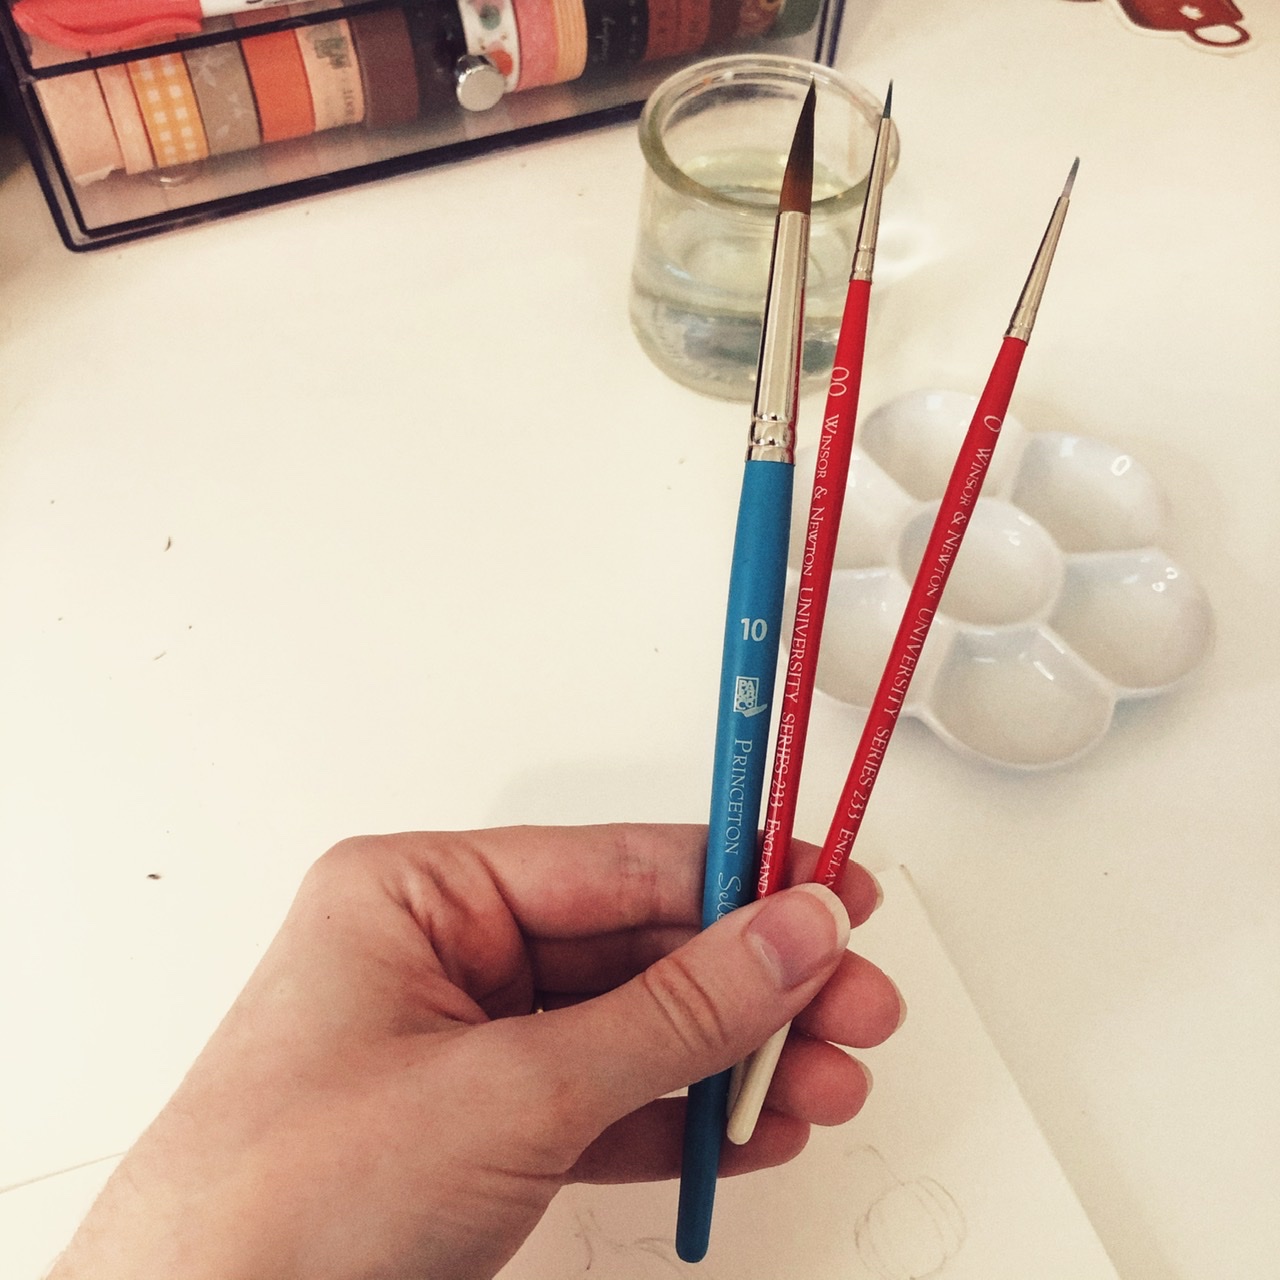
- Paint Brushes
- Water and paper towels
How to Create Watercolor Pumpkins
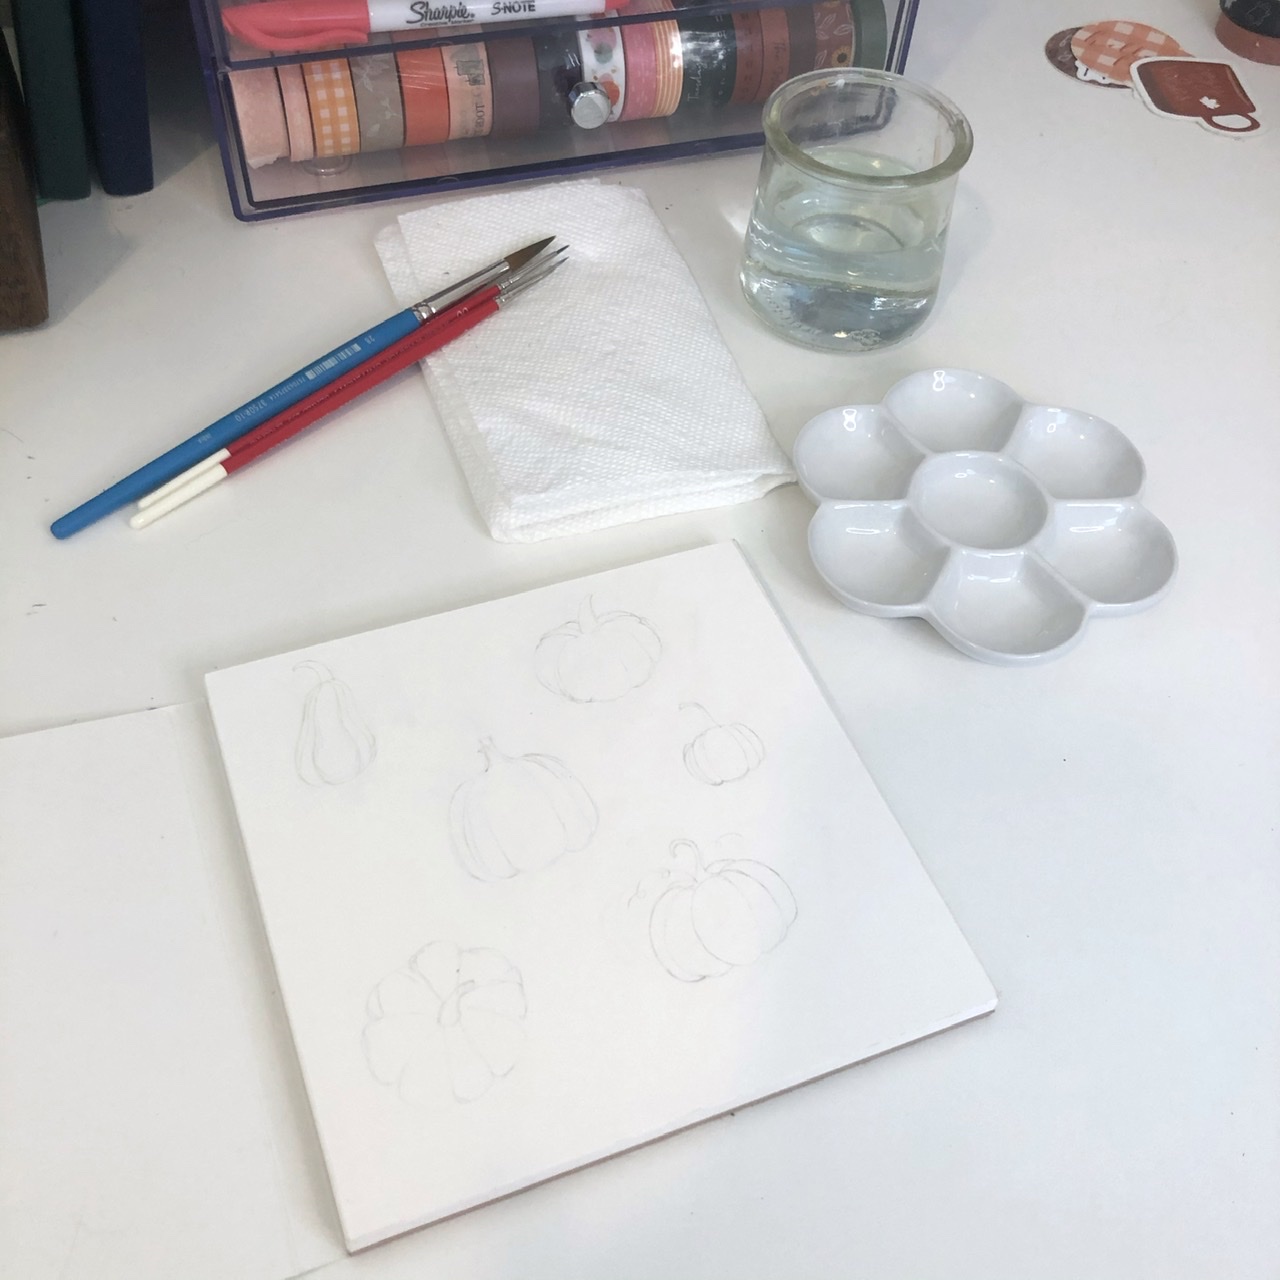
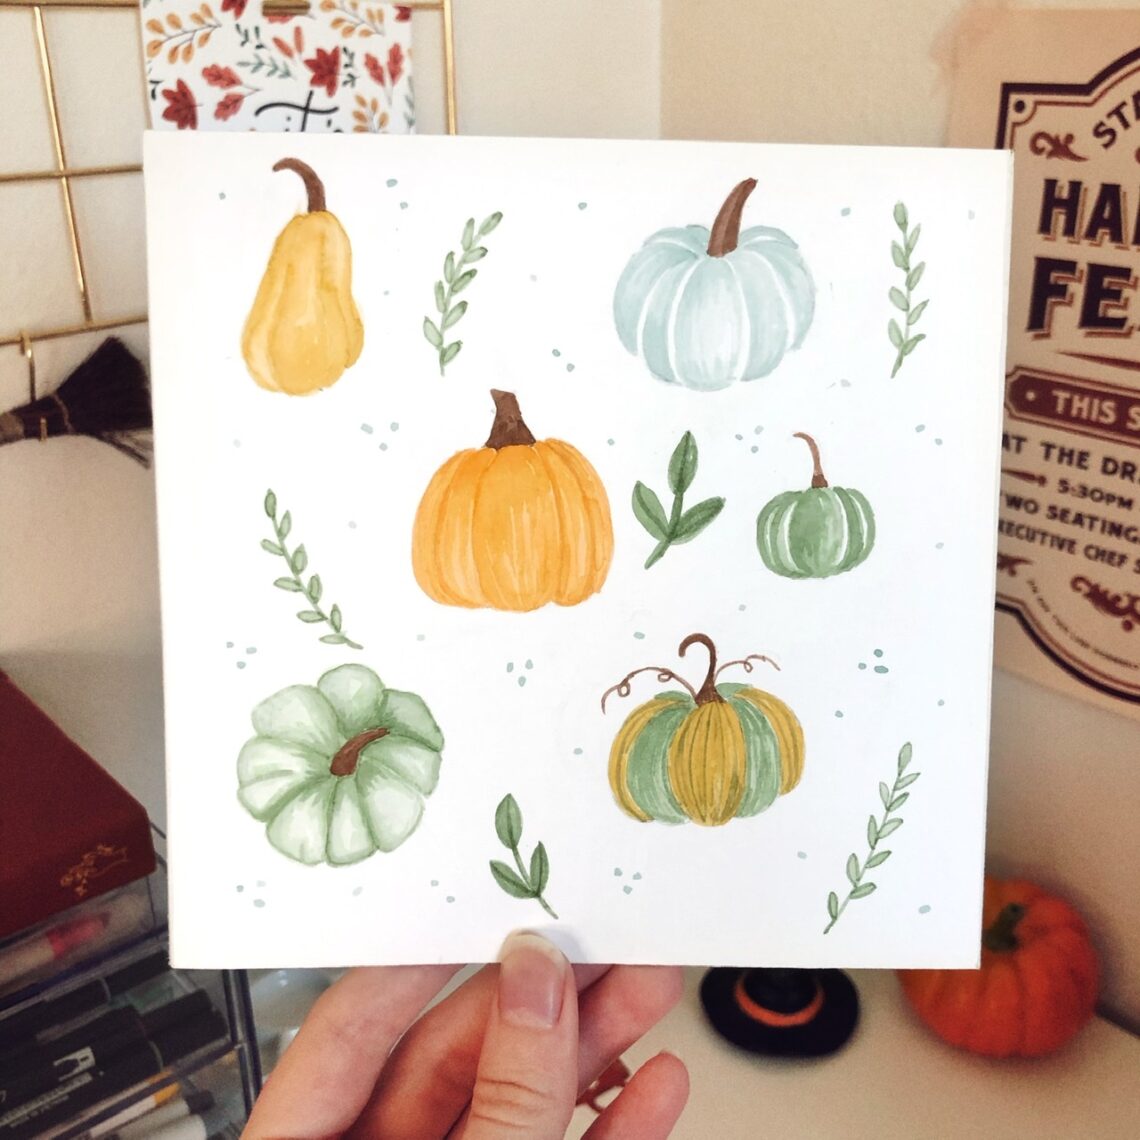
Lightly sketch out your pumpkins with pencil. I tried to draw a variety of different pumpkin shapes from different angles. If your pencil drawing is too dark, you can lightly erase it. You can erase more after your painting is done and dry, but I don’t like to have to erase too hard at that point.
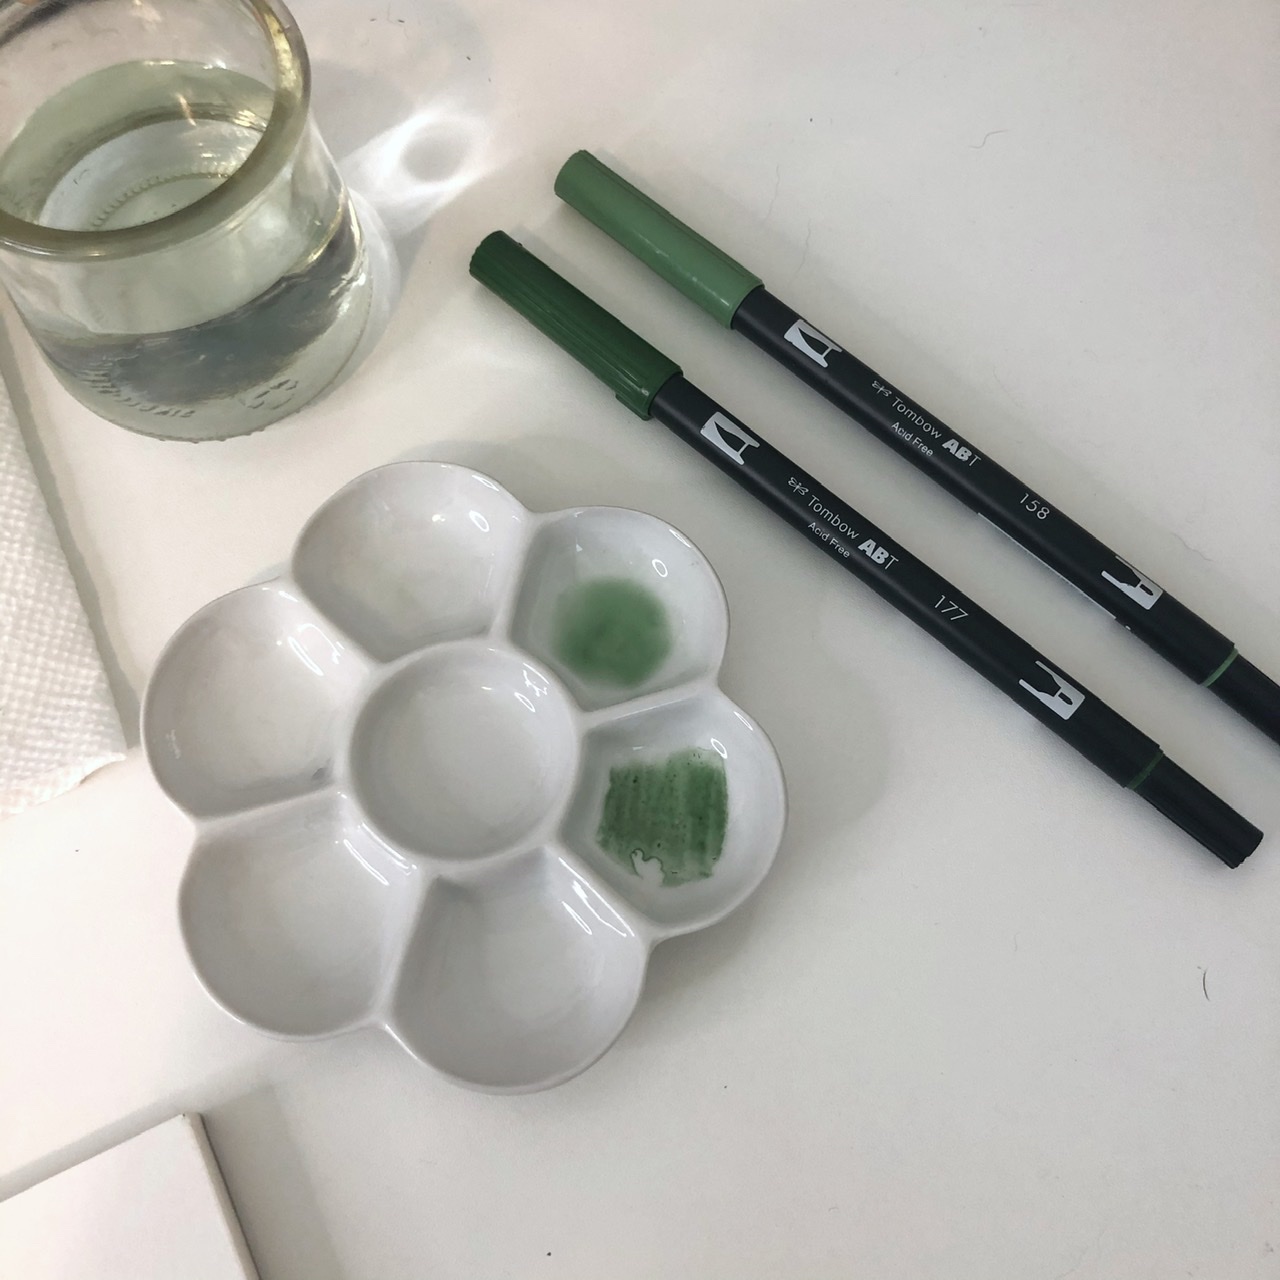
To use your Tombow Dual Brush pens as watercolors, brush some color onto your palette and add just a little water. The more water your add, the lighter wash it’ll create. Remember, you can always add more color by layering, but you can’t make it lighter.
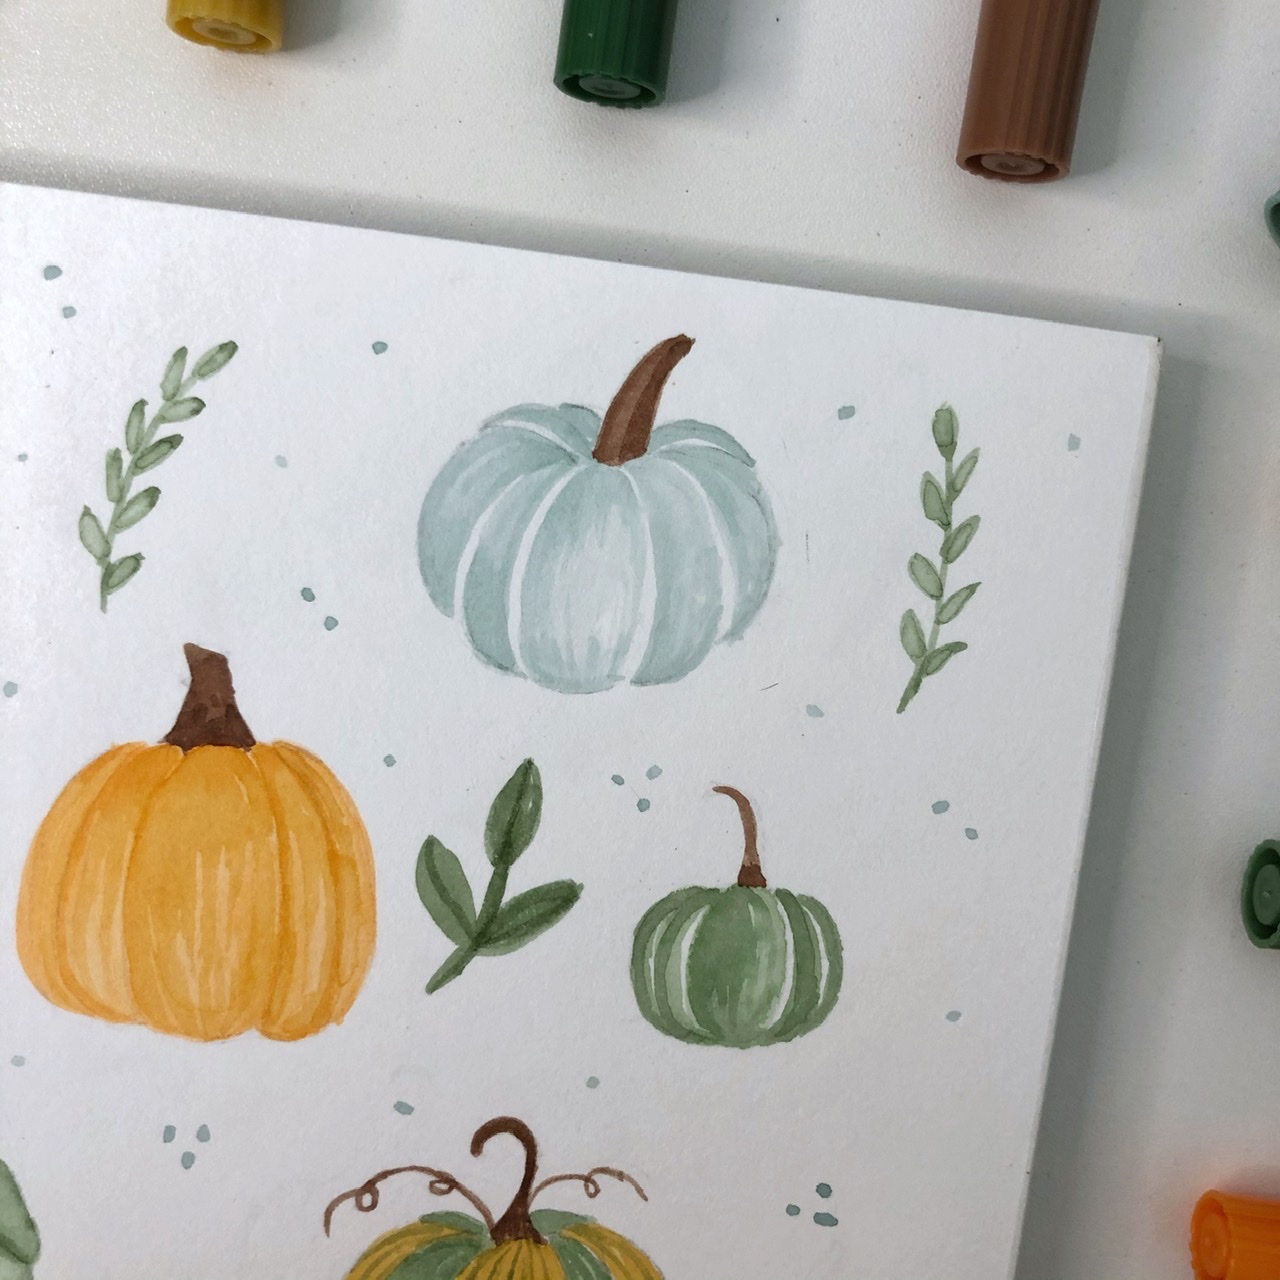
Pumpkin Technique #1
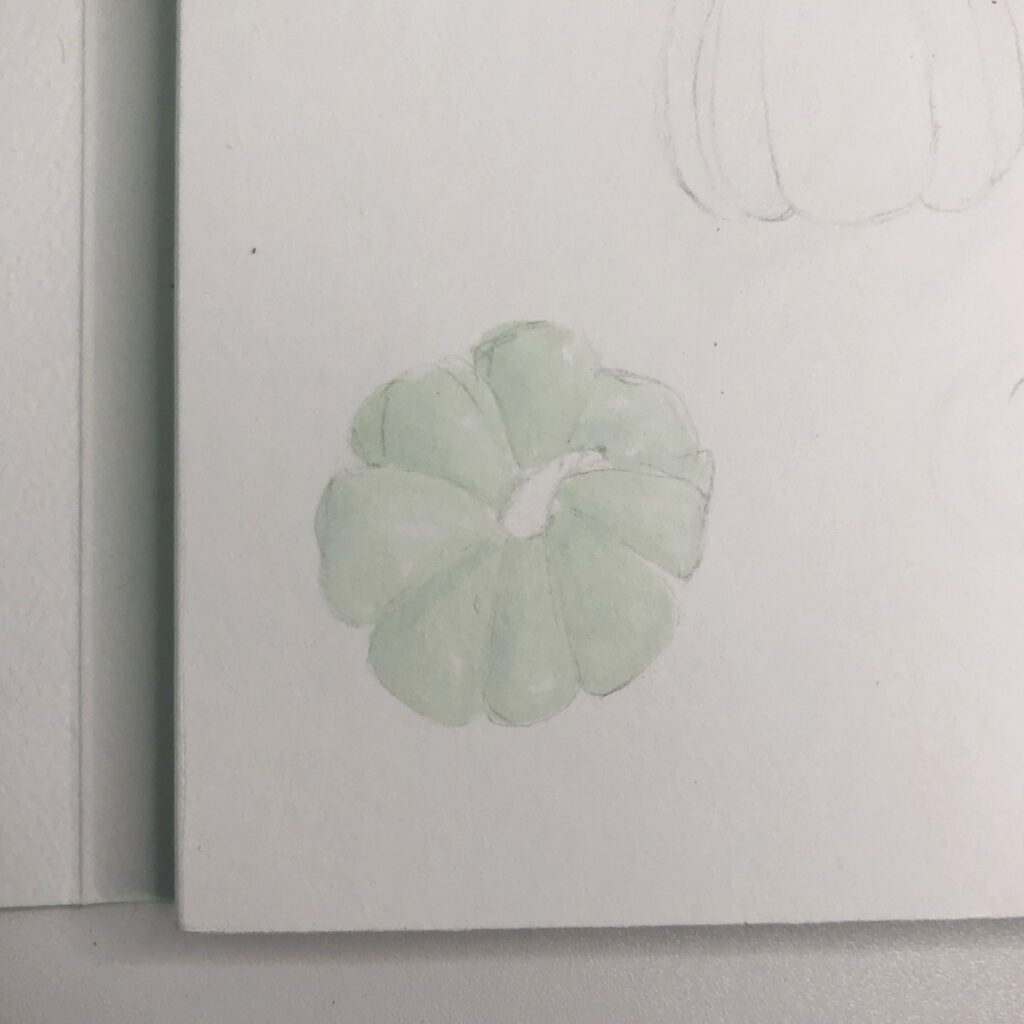
For this technique, I used a light green and a darker green. I filled in the pumpkin (minus the stem) with a solid, light wash. Wet your paint brush just a bit each time you grab more color.
After your first layer has dried, go in with a small paint brush and your darker green. Go around the edges of each section of the pumpkin to add shadows and depth. If the line is too harsh, go in with water on your paint brush and drag it out to the center of the section. Tip- Alternate sections on the pumpkin to avoid paint bleeding into another section. By the time you finish the first few, they’ll have dried enough to finish the rest.
You can repeat this process until you’re happy with the result.
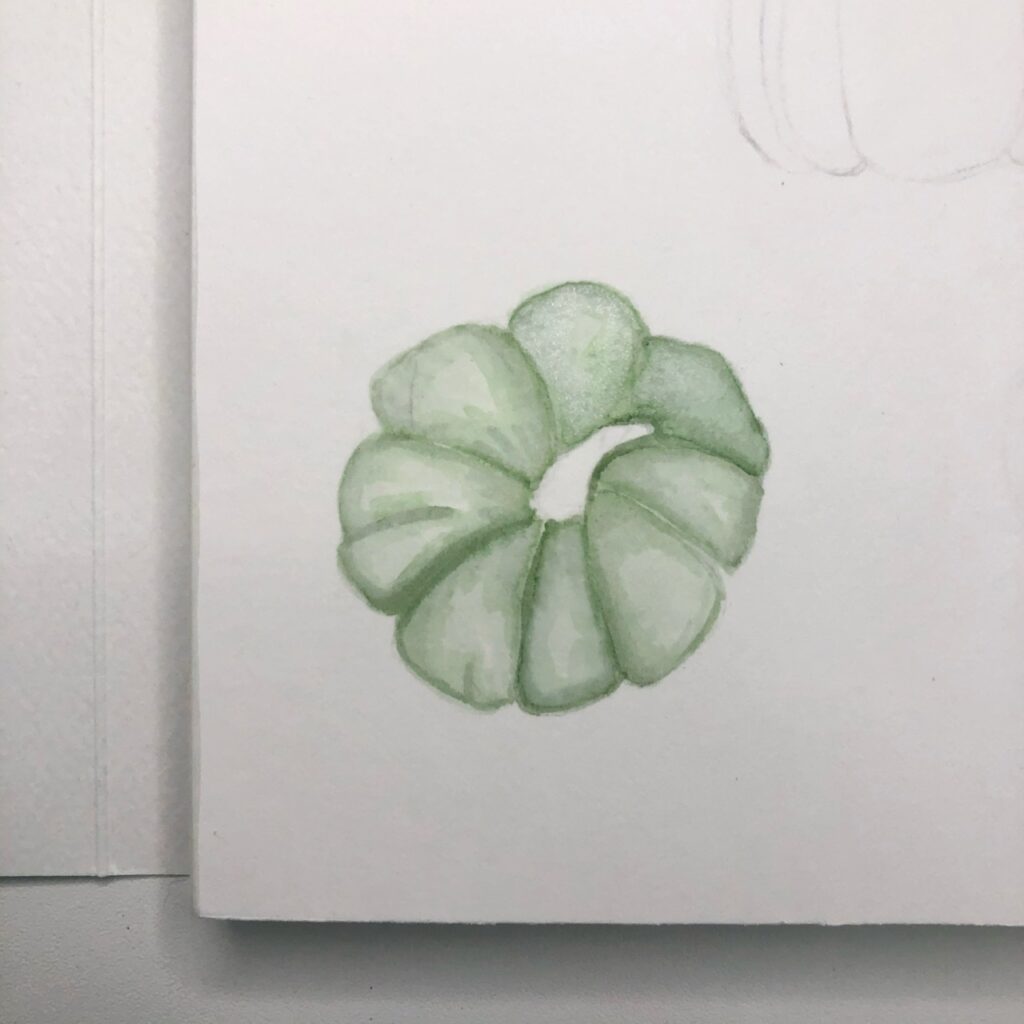
Pumpkin Technique #2

For this technique, I only used one color. To add more depth to this pumpkin, I focused on leaving negative space. When I put my first wash of color, I left space with no color between each section. After it dried I went back in with the same color, but less water, to build up the color in the same way I did in technique one. I also added a decent amount of color on the top and bottom of each section. To blend it in, I lightly dragged my paint brush all the way down, and then back up.
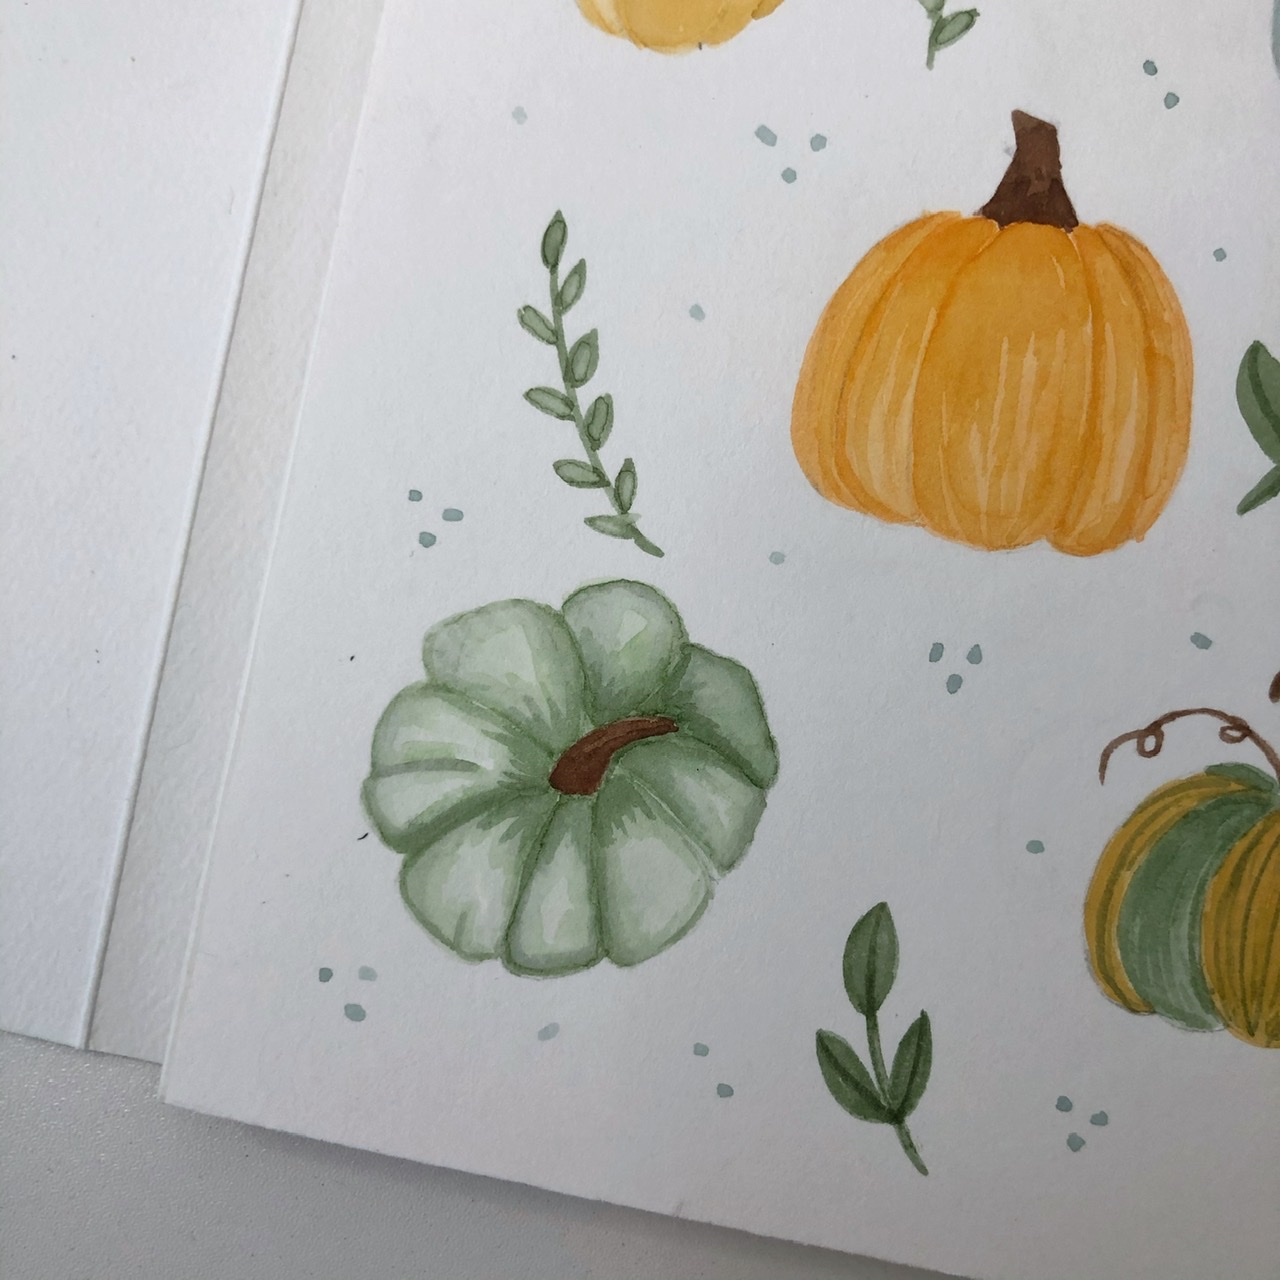
I finished all my pumpkins and let them dry completely before I added the stems. I used the same brown for all the stems. I did a light brown wash and then built it up until it looked right.
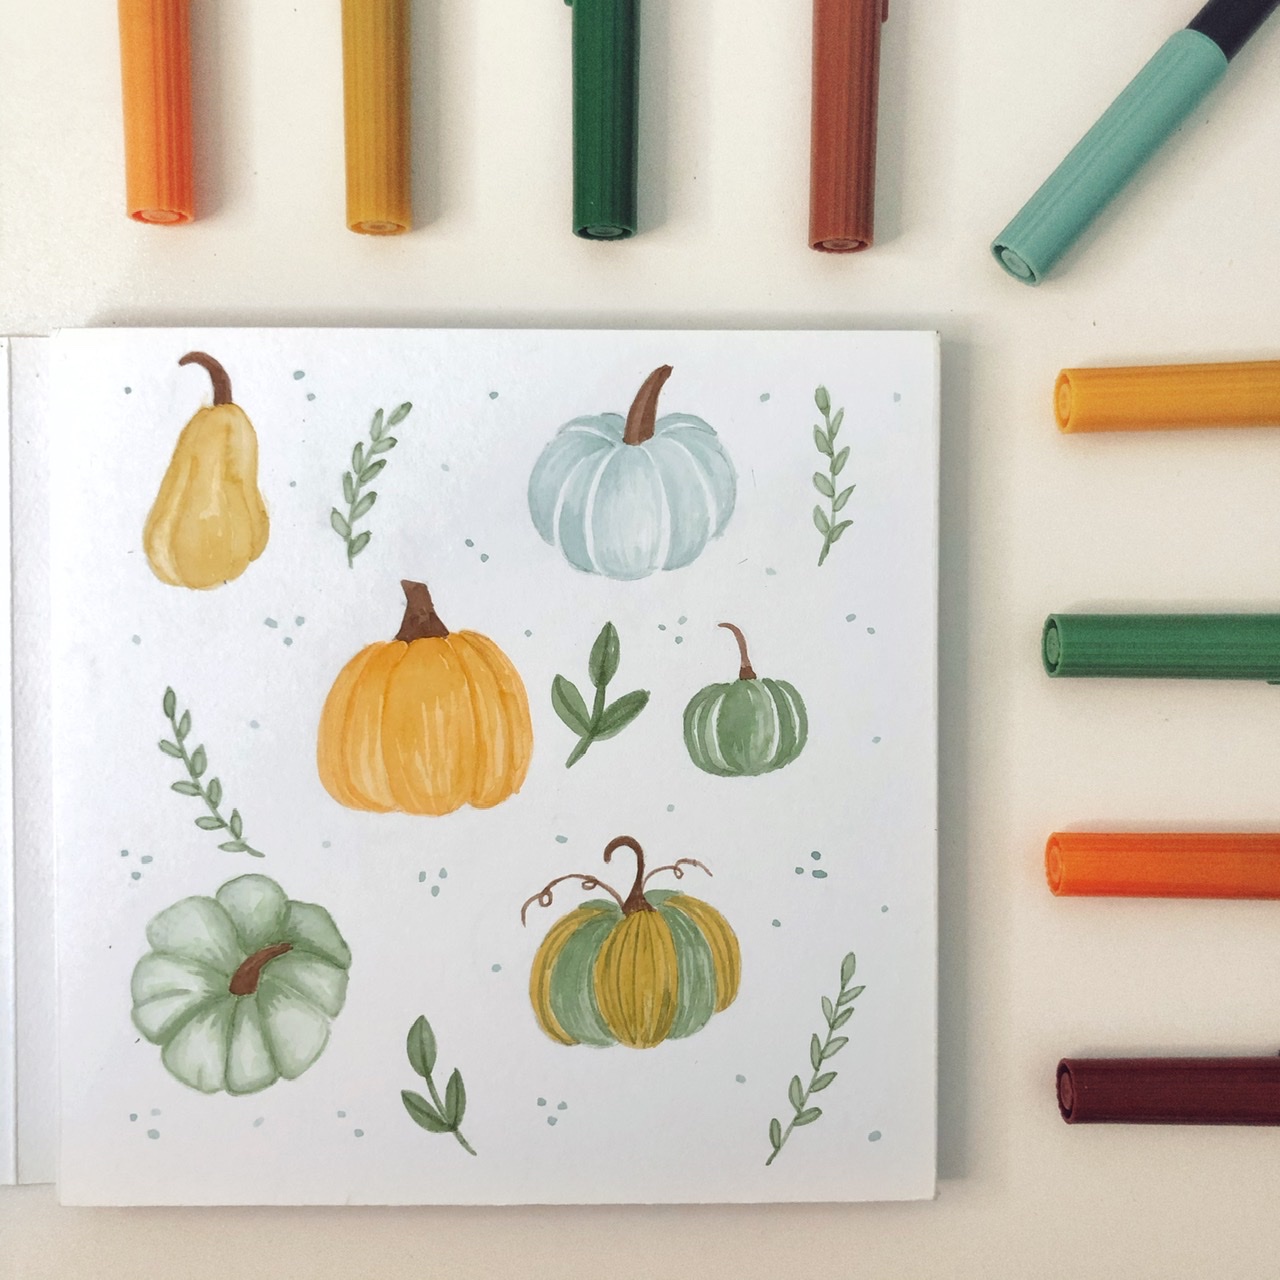
There really is no right or wrong way to make your watercolor pumpkins. In real life pumpkins come in all shapes, colors, and sizes. Play around with different shaped pumpkins, different colors, and different application techniques.