
Do y’all ever look at your favorite Instagram bullet journal accounts and get jealous of their background? Do you find yourself wondering how the got so lucky to have beautiful hardwood floors or a wood tabletop to take their pictures on? Well I know I do. I LOVE the look of a beautiful wood background behind a bullet journal spread, but I’m not one of those lucky people with nice hardwood floors. Our rental house actually does have hardwood floors, but they’re an oak-y color and it’s not the look I typically go for. So this led to me DIY-ing my own wood background, and since I have a feeling y’all might be in the same boat as me I wanted to share with you how I did it.
Originally, I really wanted to create a “wood floor” background, but the idea of having to put together wood planks successfully was a bit too daunting (and time consuming). So I went the easy (aka lazy) route and went for a “wood tabletop” look. It was honestly so easy and inexpensive.
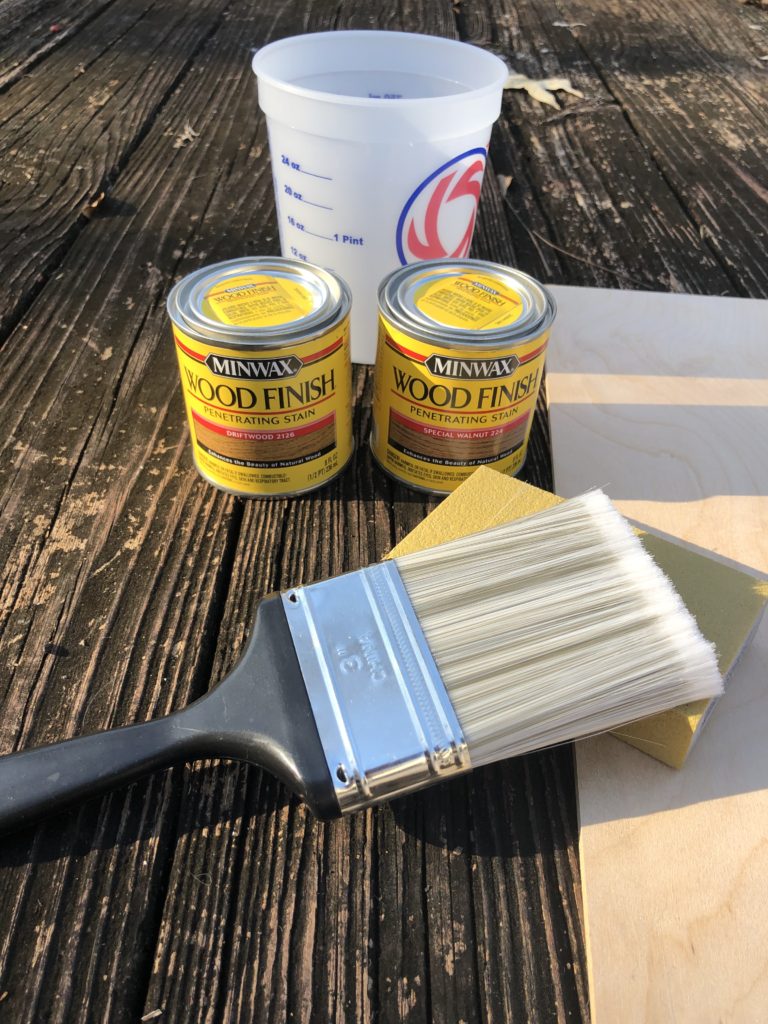
Supplies
2 cans Minwax Stain(8 fl oz)- $4.98 each
1/4 inch 2×4 Birch Plywood- $13
220 grit sandpaper- $5.98
Paintbrush- $3.98
Mixing Bucket- $1.28
Total cost $34.20
I picked up everything I needed from Lowes. I went with a piece of birch plywood, but you could use any wood you like the look of (I also really liked the oak). I got the thin plywood because there wasn’t really a reason to get a thicker piece, and it’ll be easier to store. Now you really only need one small can of stain (it’s more than enough for this size wood), but I wanted to mix two shades so I bought two cans. I got a can of special walnut and driftwood.
Instructions
You’ll want to give your wood a good sanding before you start staining. This ensures that the stain goes on evenly and doesn’t get splotchy. After you sand your wood, wipe the surface with a rag to get the dust off. Shake your can of stain before you open it. If you’re mixing two colors together, make sure you stir them together well. Now you apply a thin even layer on your wood. Let it sit for 10-15 minutes depending on the shade you want. The longer you let it sit, the darker it will be. After the stain has sat, use a cloth or old t-shirt and rub away excess stain. I let my wood dry over night and I ended up adding a second coat. I then let it dry over night again and it was ready to use!
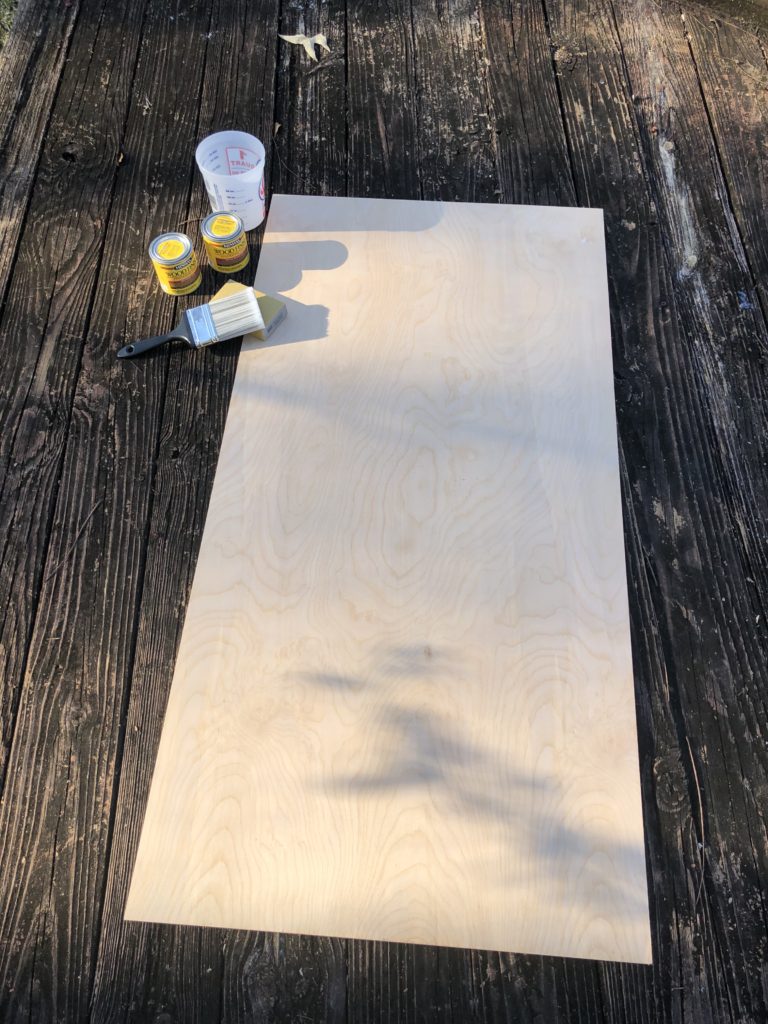
This is what my piece of wood looked like before sanding and staining.
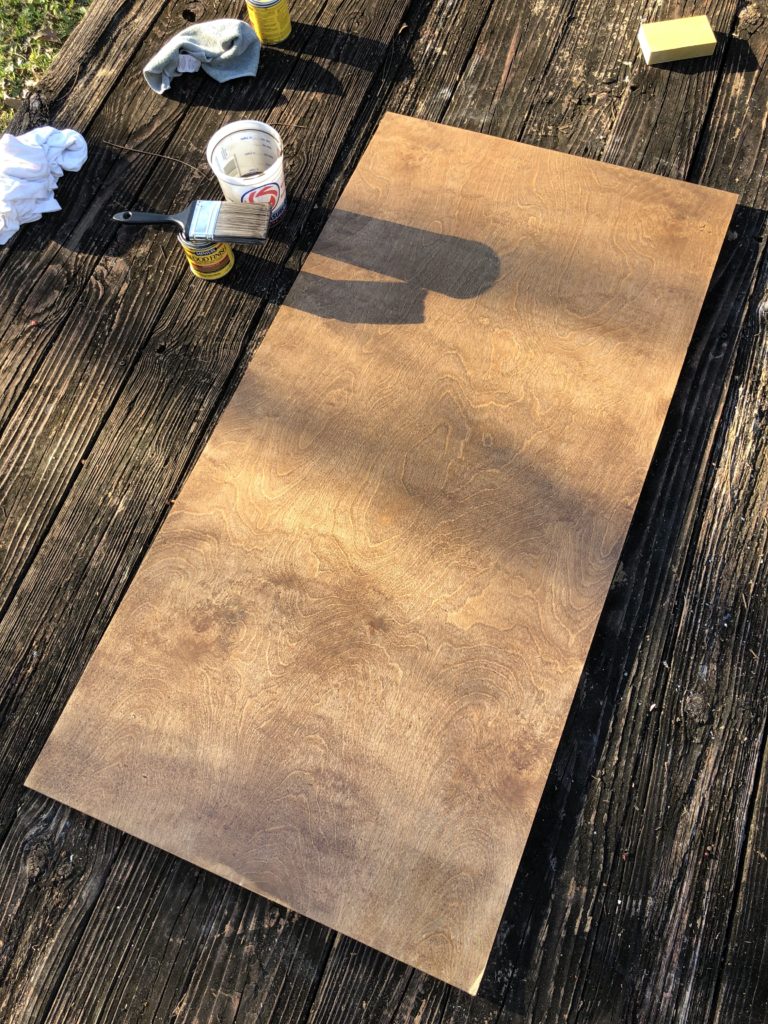
And this is how it looked after one coat of stain.
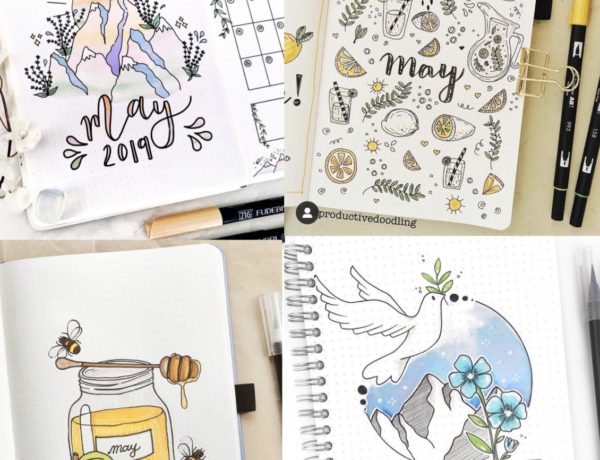
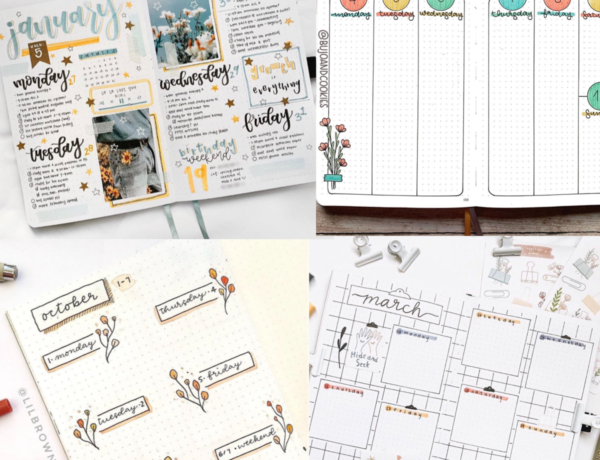
Here’s a little sample picture to show you what my journal looks like on it! I love the way it looks. Y’all can definitely be looking for some future spreads to be photographed on it.

So that’s how my easy and inexpensive wood background turned out! I’m very happy with the shade of the wood, and I love the pattern of the birch. It’s not too busy that it’s distracting, but it still gives some character to photos. What are y’alls go-to backgrounds when you take pictures of your journals(or anything really)?