
Let me start this post by saying, I am not an Instagram genius. I’ve had my bullet journal Instagram account for 8 months now and through a lot of trial an error I’ve started to figure out what works for me. So, these are just suggestions for how I take and edit pictures of my bullet journal for my Instagram and my blog.
*For all of my pictures I use my iPhone 8 and I take them in the square format
Lighting
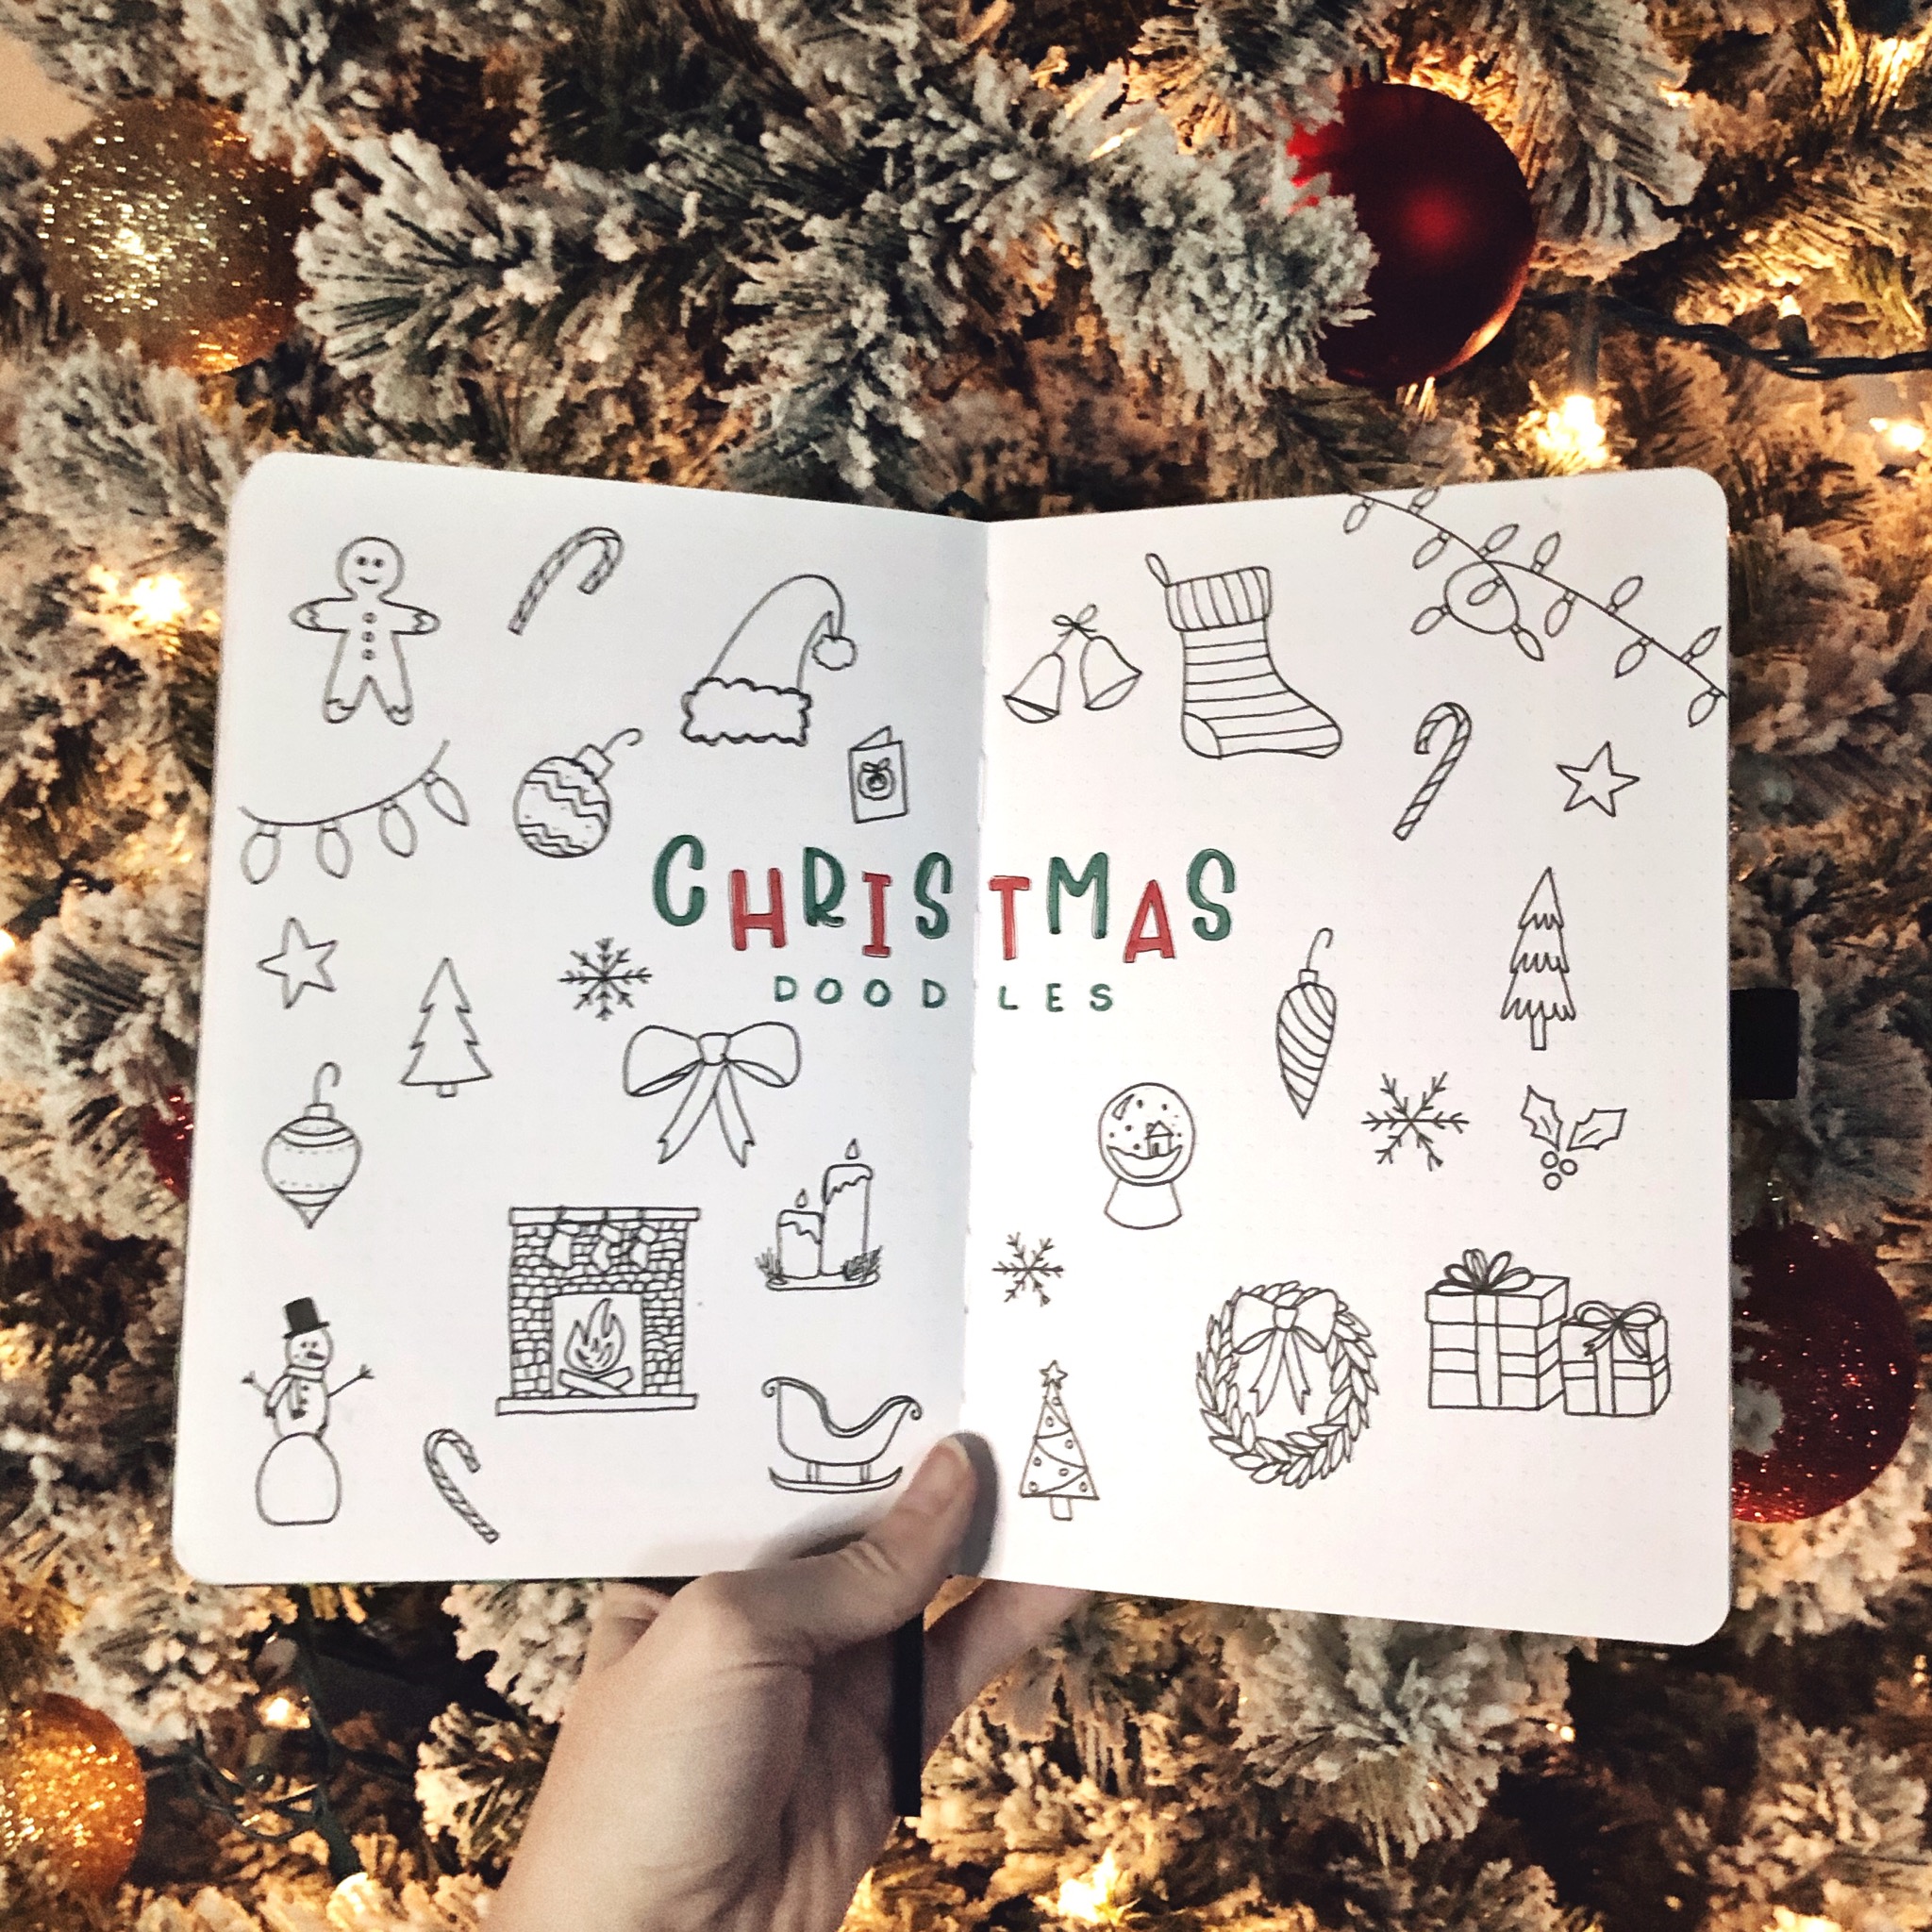
The most important step in taking an “Instagram-worthy” picture of your bullet journal, is lighting. Natural lighting is best, and it’s free! Open up as many windows as you can, and place you journal in a sunny (but not over-saturated) spot. The problem with natural lighting is that you’re at the mercy of the weather. I’ve had to wait several days before to take a picture of a finished spread because of overcast and stormy days. Luckily, you can still get a good picture out of an overcast day thanks to the editing tips I’ll share later on. BUT a nice sunny day is the always the best.
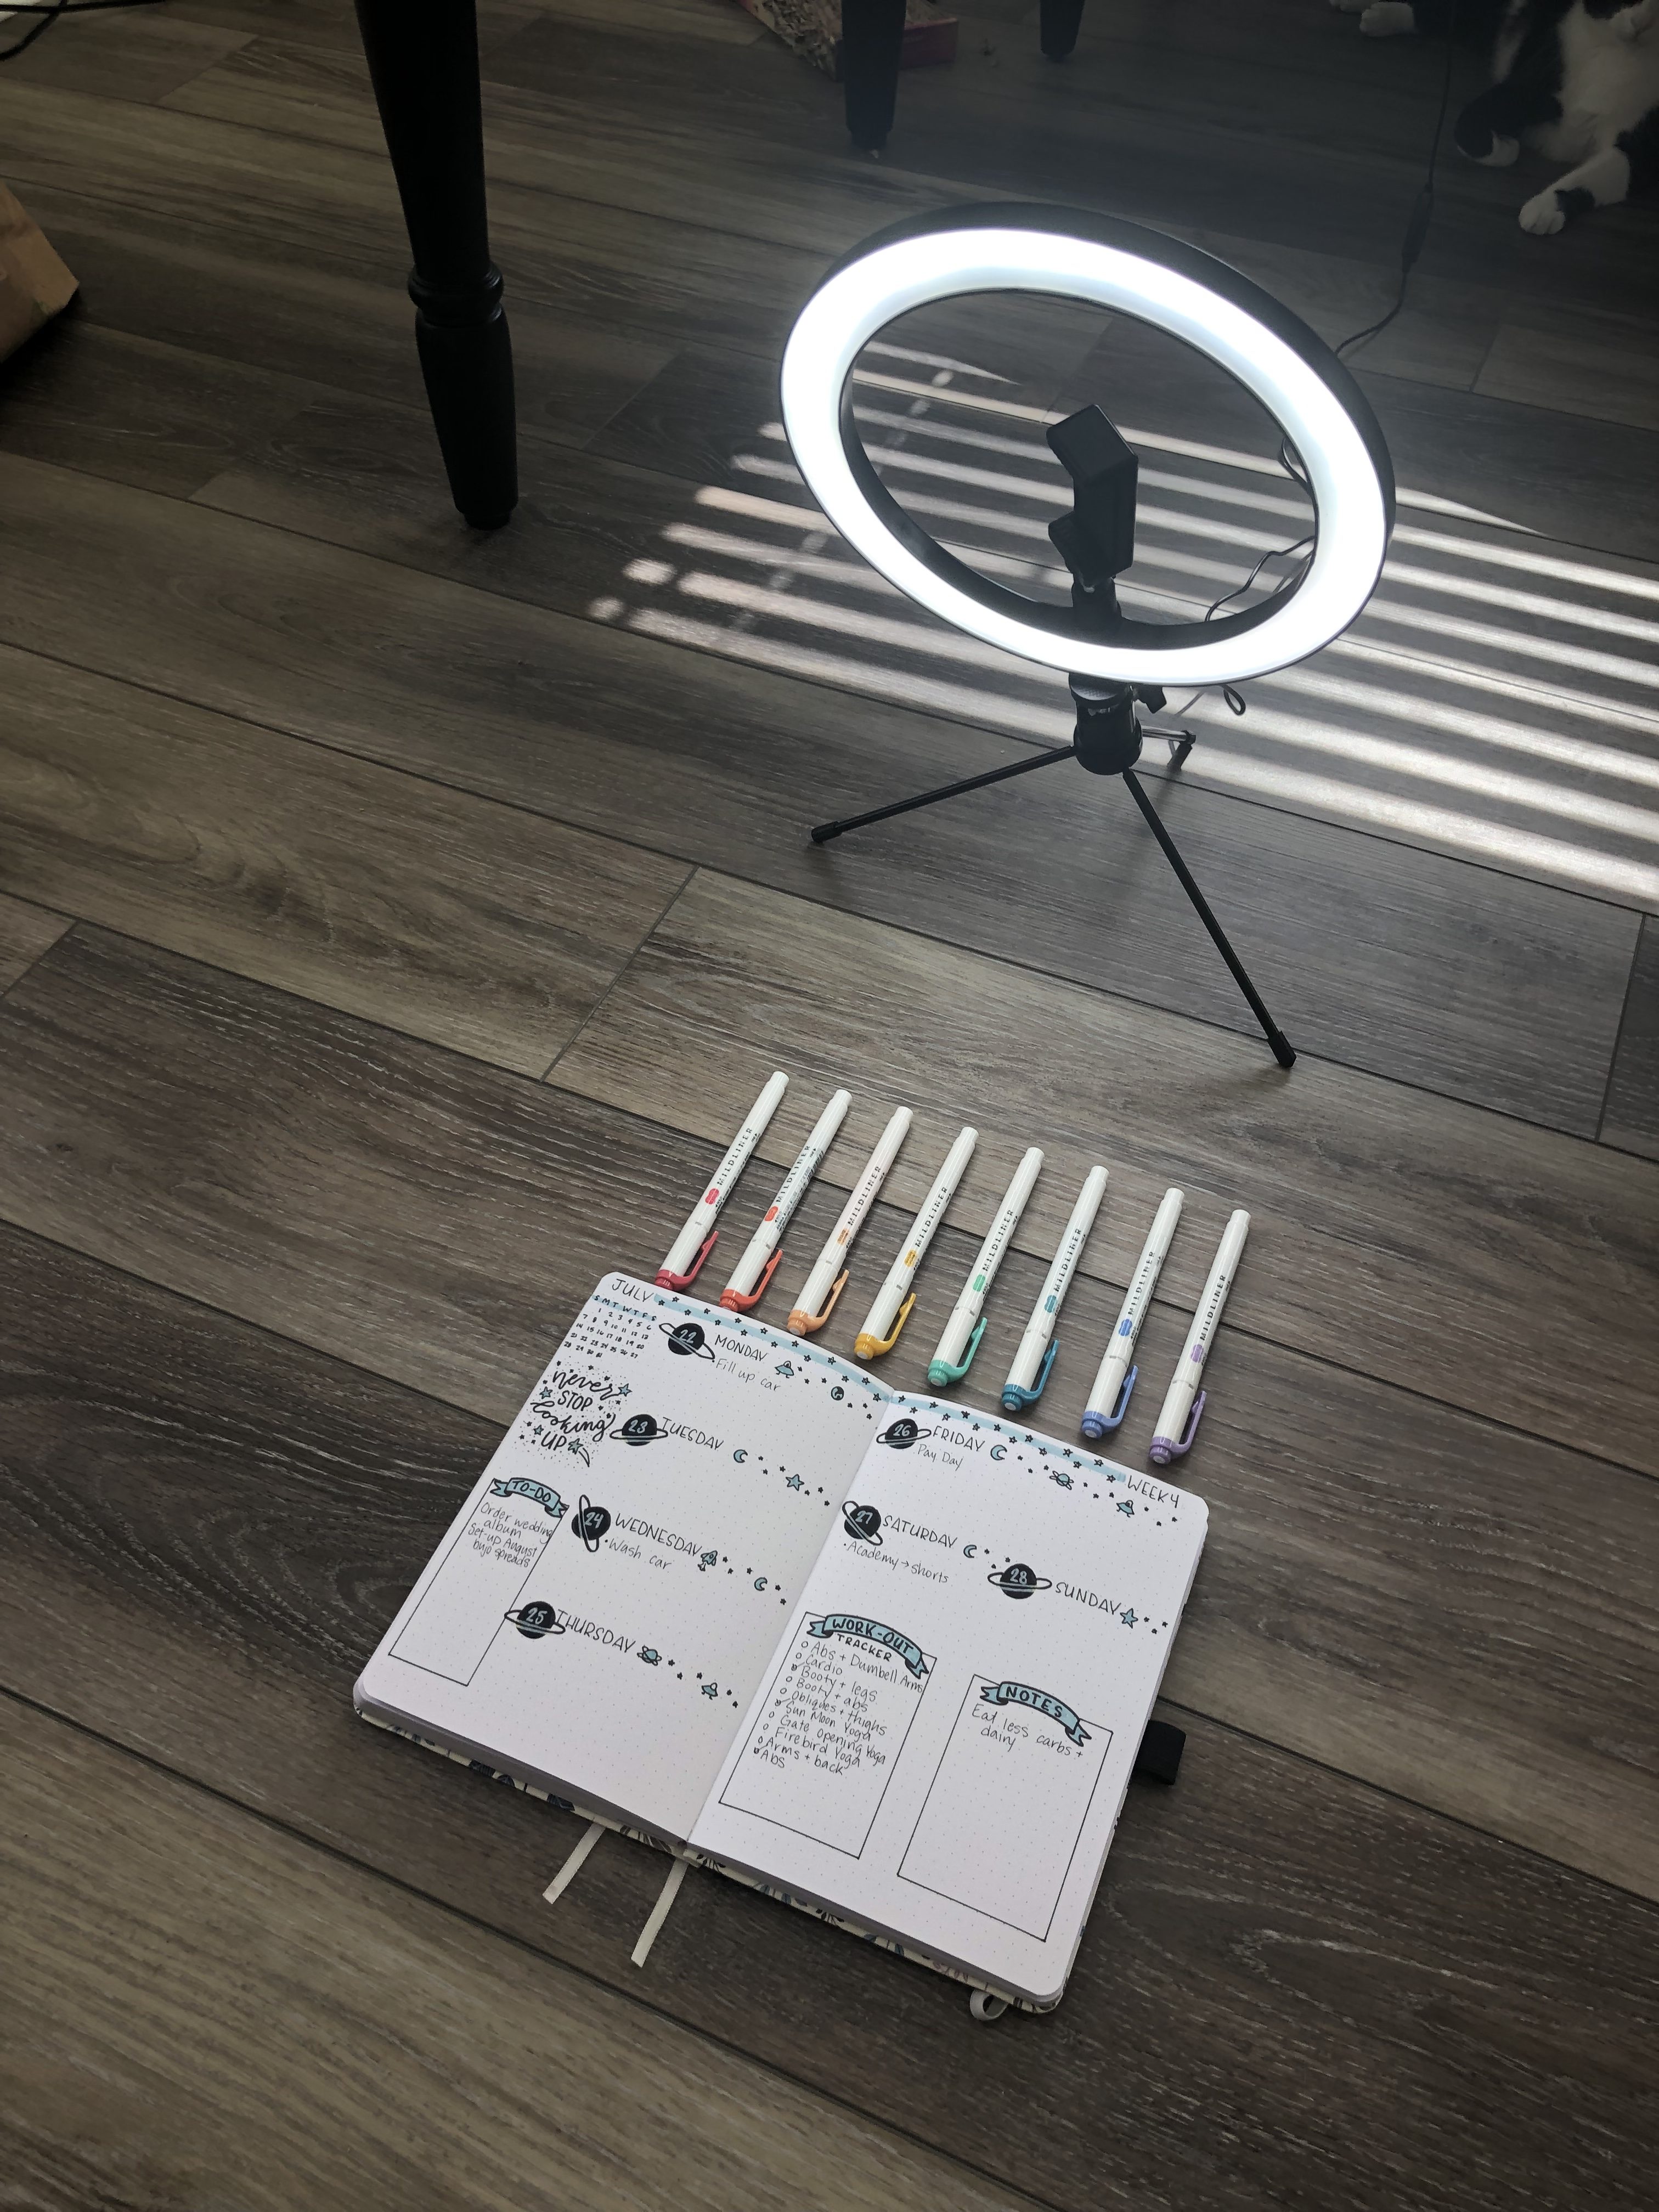
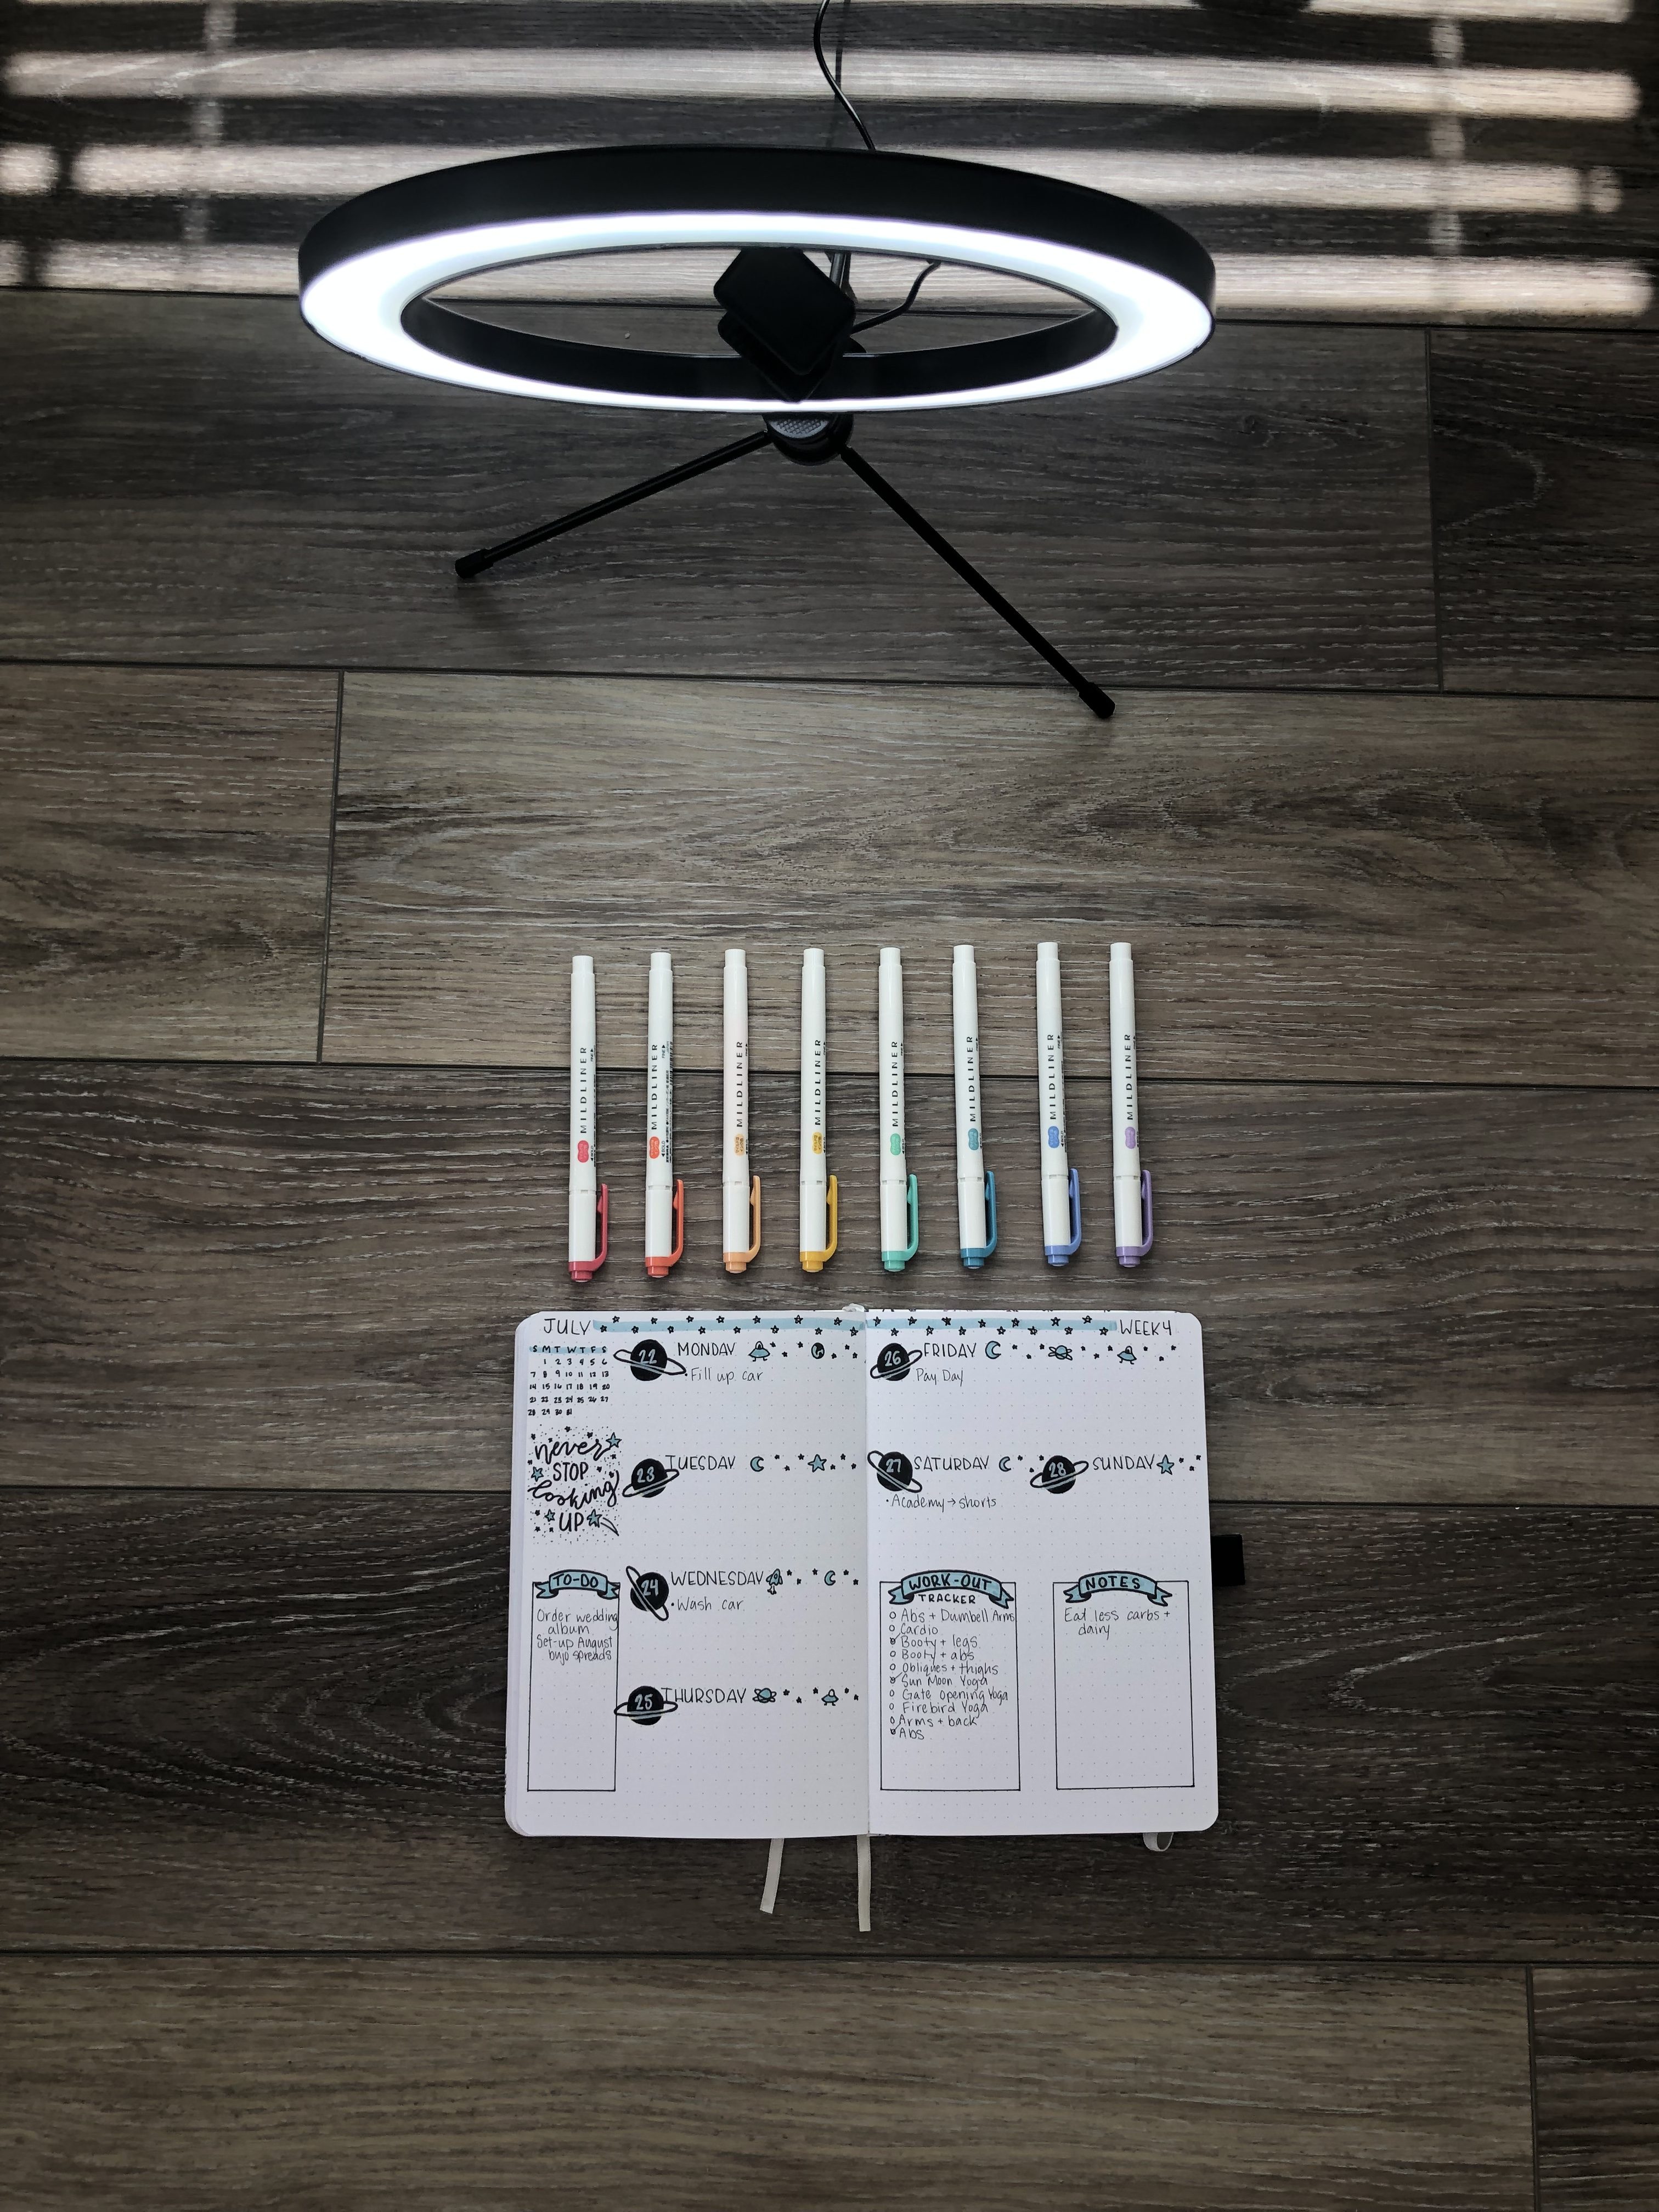
Another option that I just recently utilized is a ring light. You can use a ring light to supplement natural light when taking pictures of you journal. I still suggest you open up the blinds and let in as much natural light as you can, but the ring light will still look good in low-light situations. It provides even lighting, with different brightness and warmth settings. I use the white light on the highest level.
Props & Aesthetic
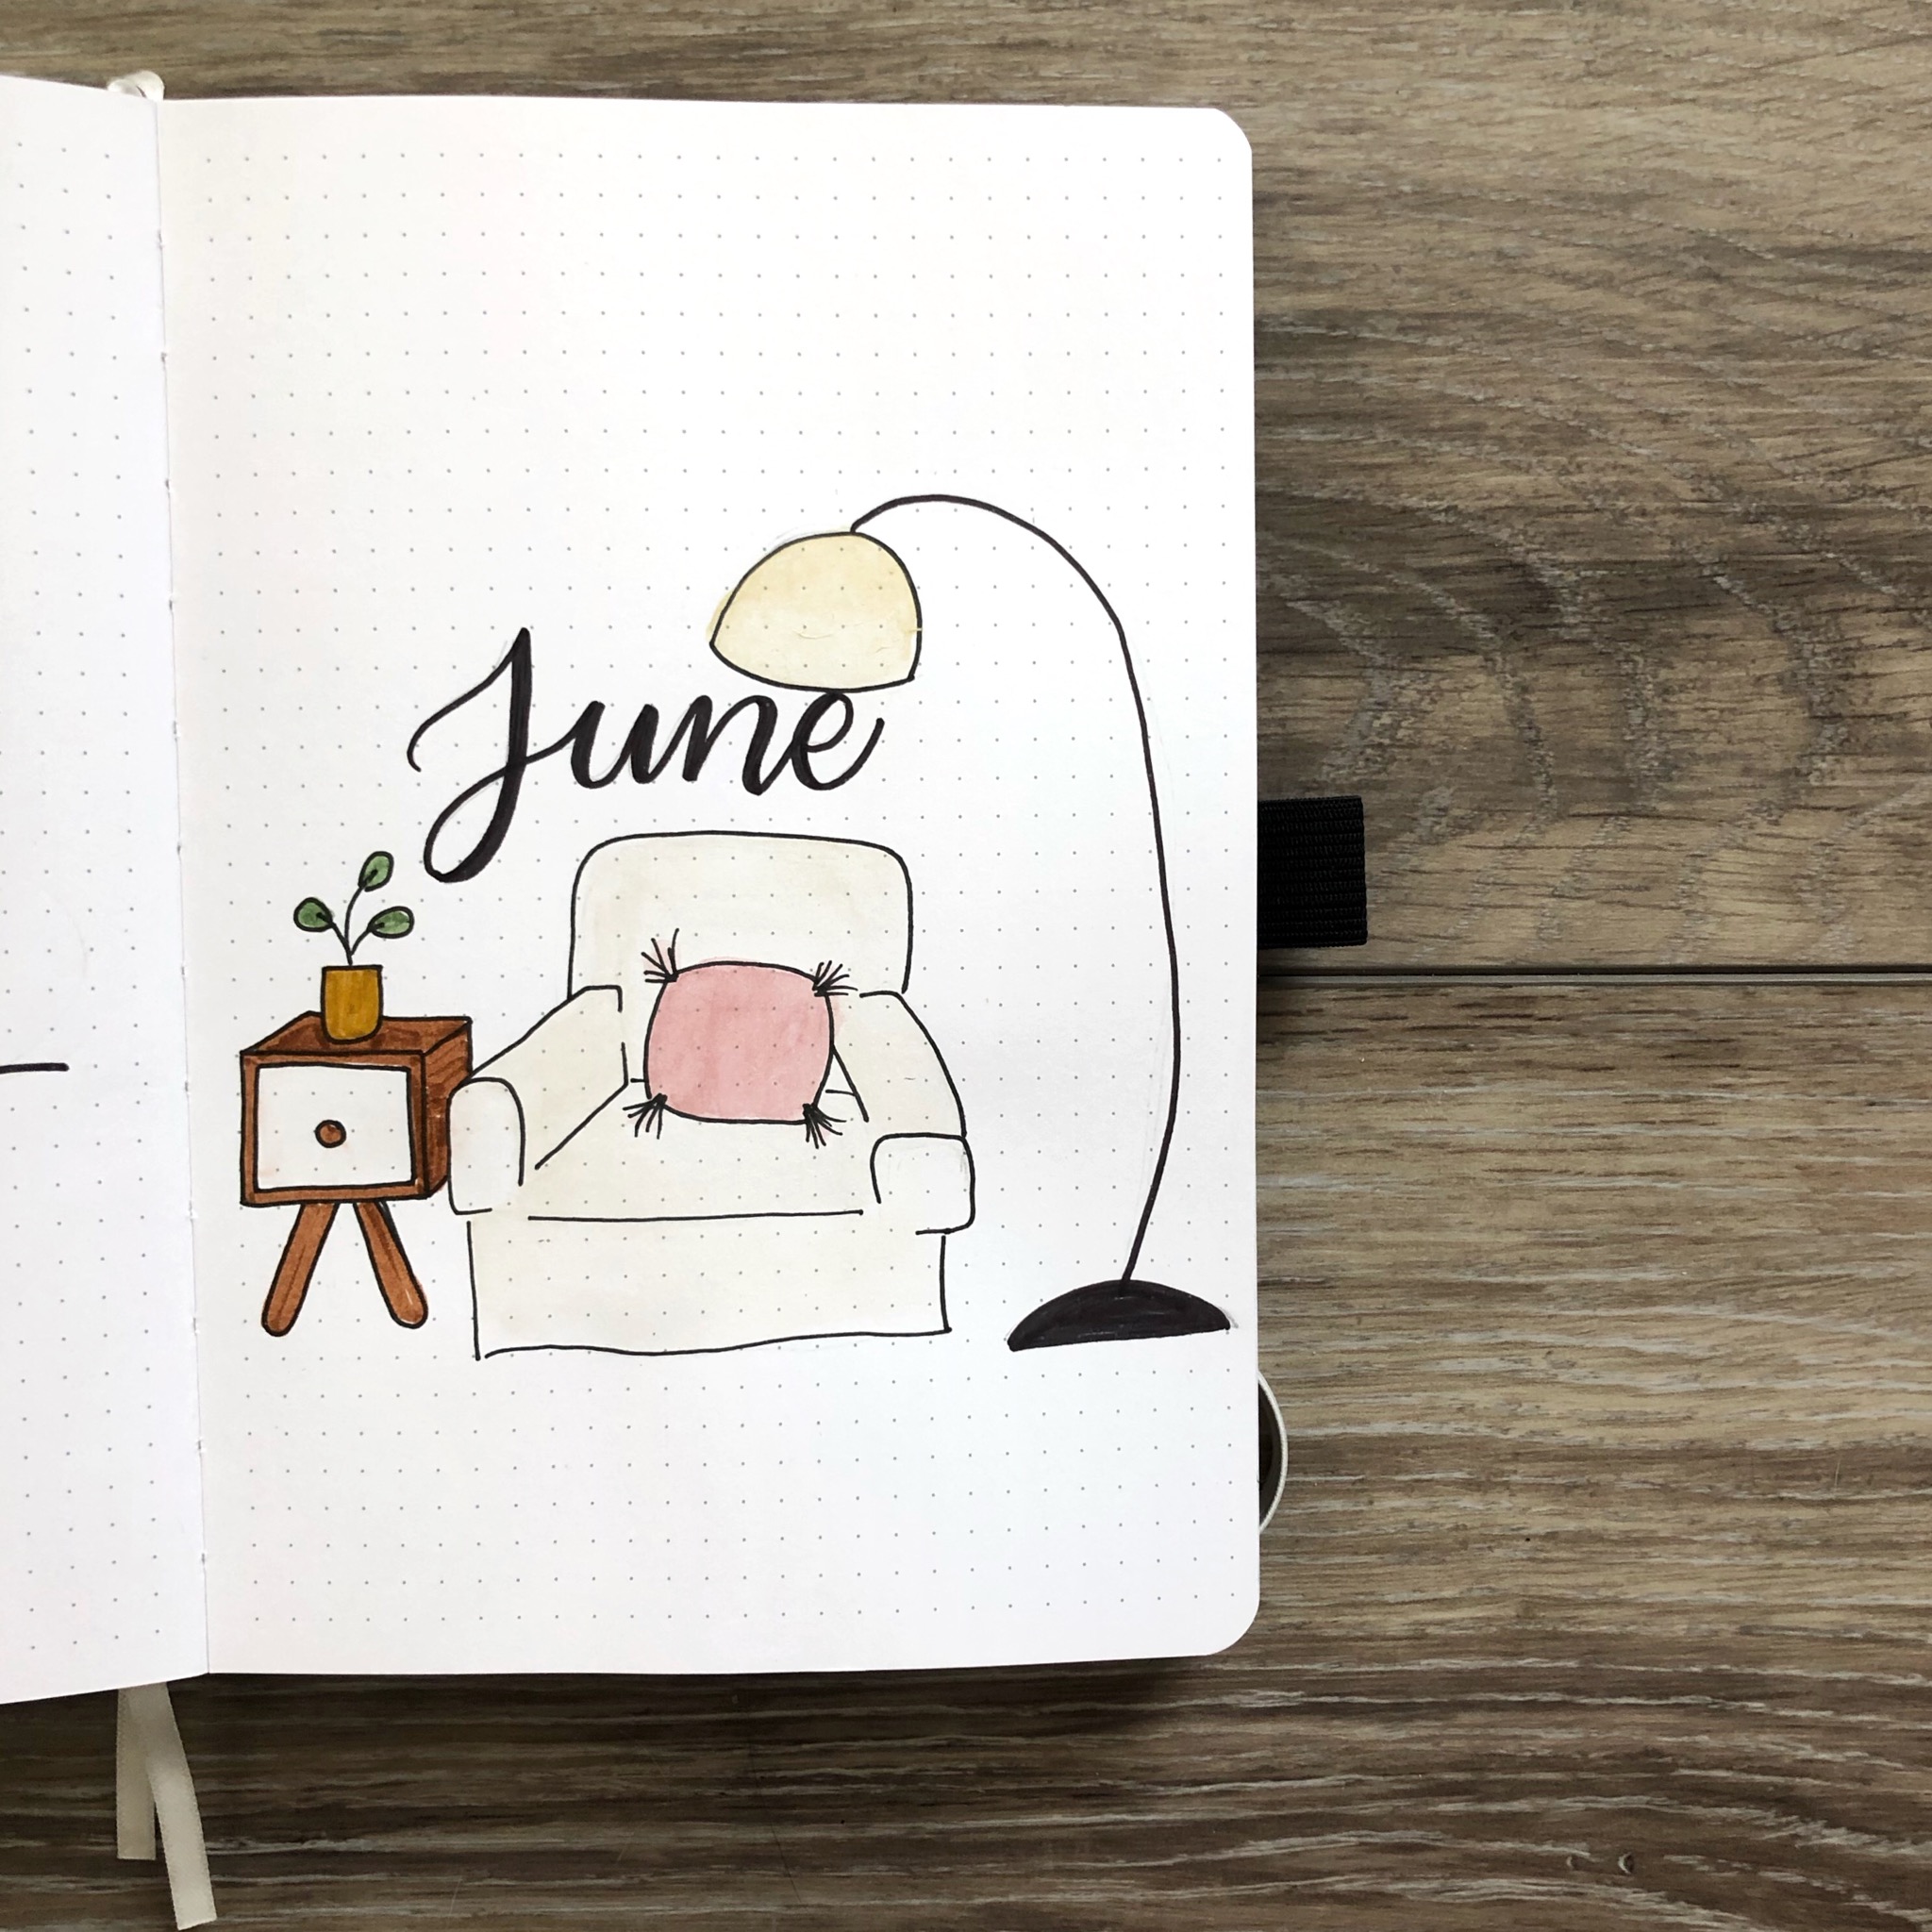
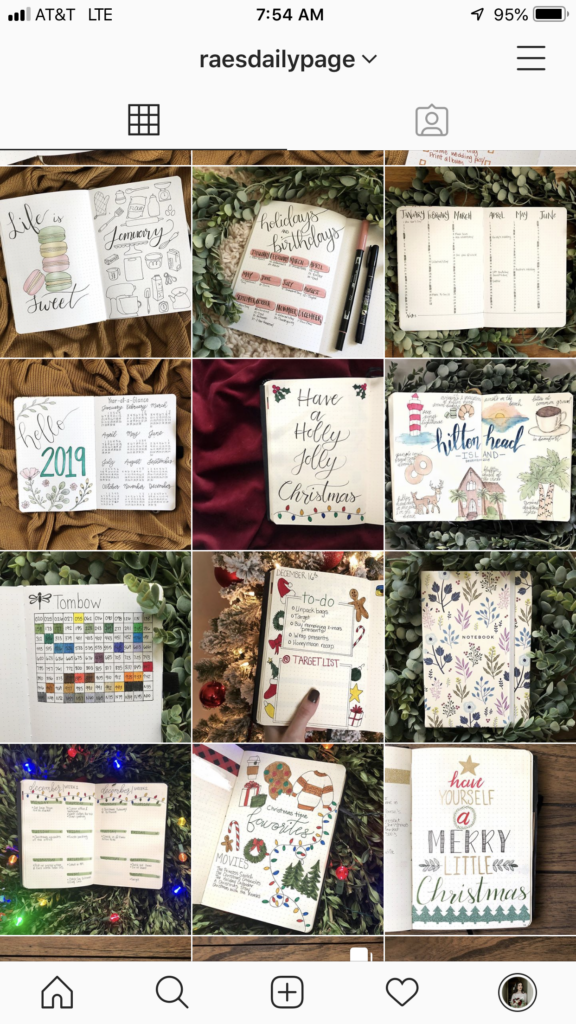
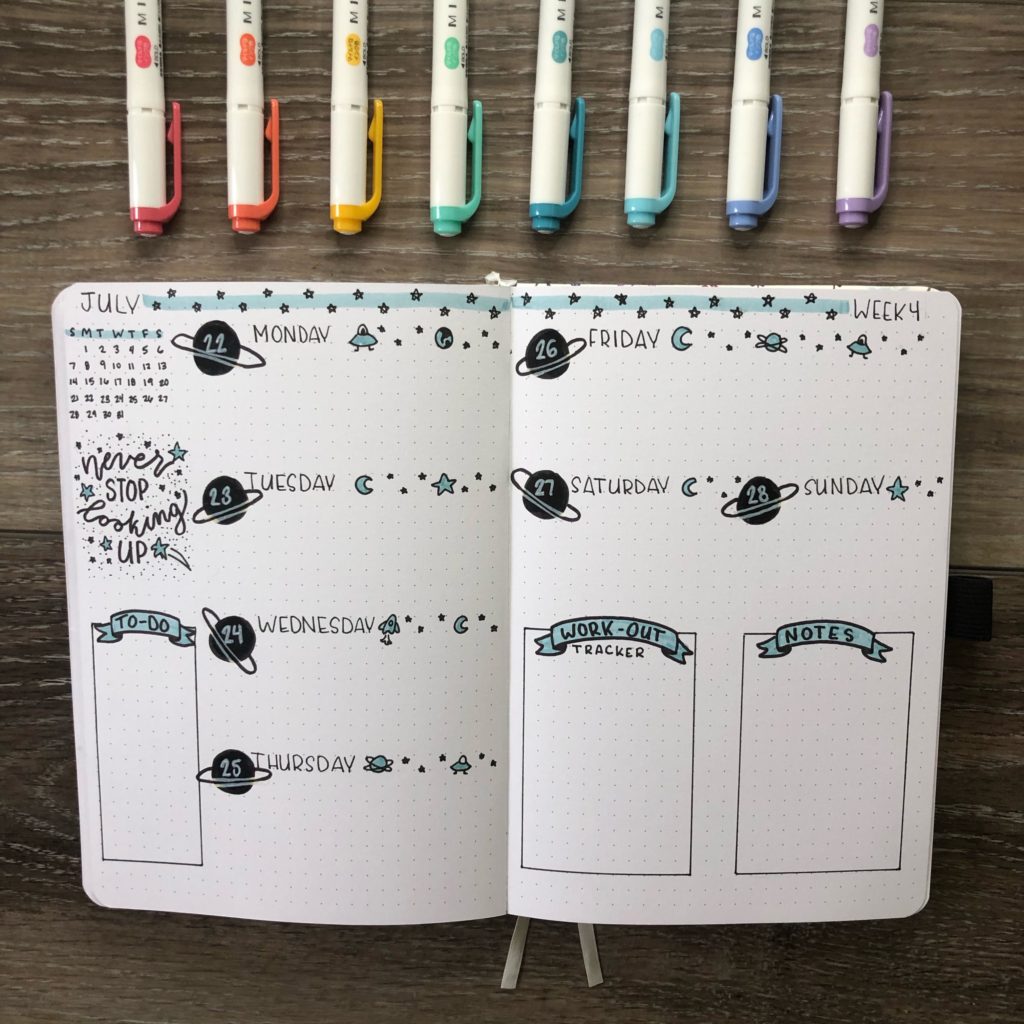
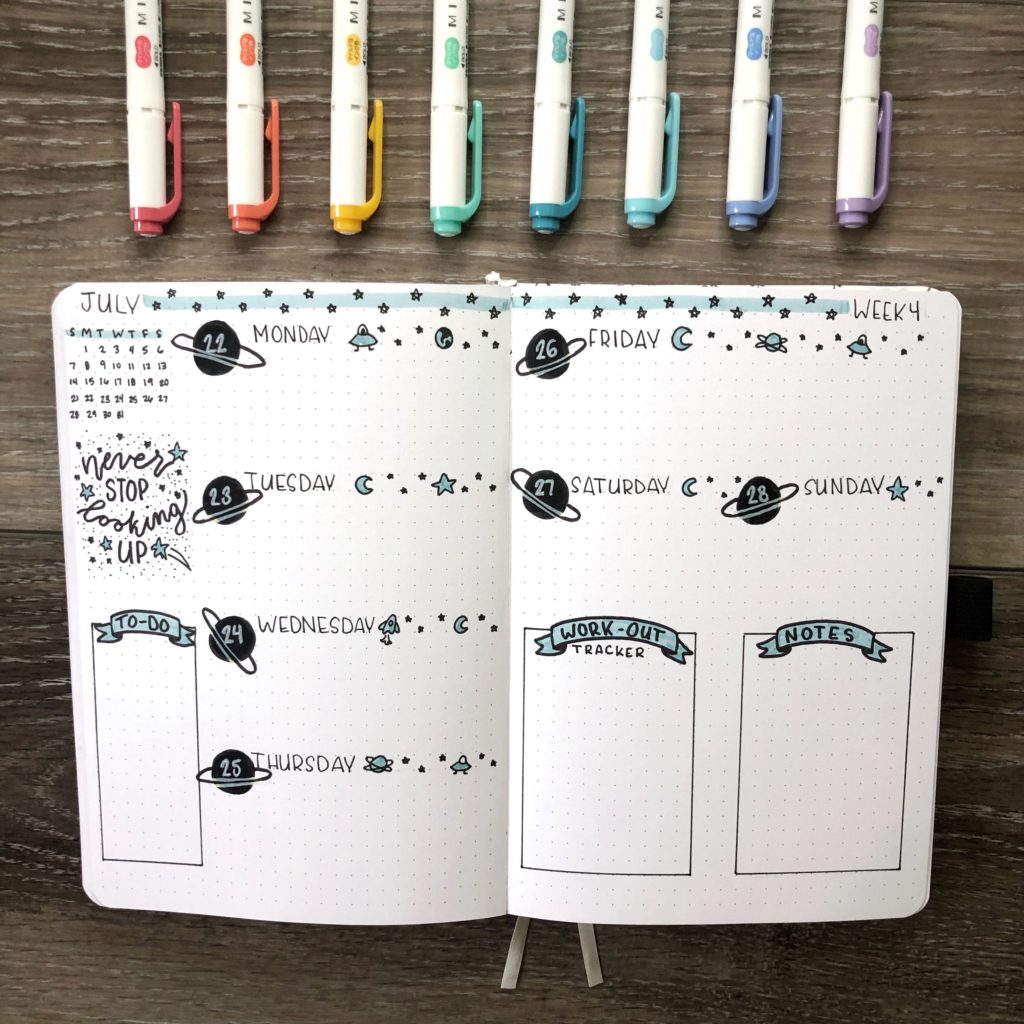
If you’re taking pictures for your Instagram, you’ll want to pay attention to your Instagram feed as a whole. I find it helps to have a cohesive theme that you stick to in your pictures. This doesn’t mean every picture is exactly the same, but you’ll want to consistently use the same background, similar editing, and style. Some background options include a table top, hardwood floors, marble countertop, fluffy rug, or even a solid white poster board. I use my wood flooring because I like the contrast between the dark(ish) background and white journal pages.
Before I picked a background 
After I picked a background
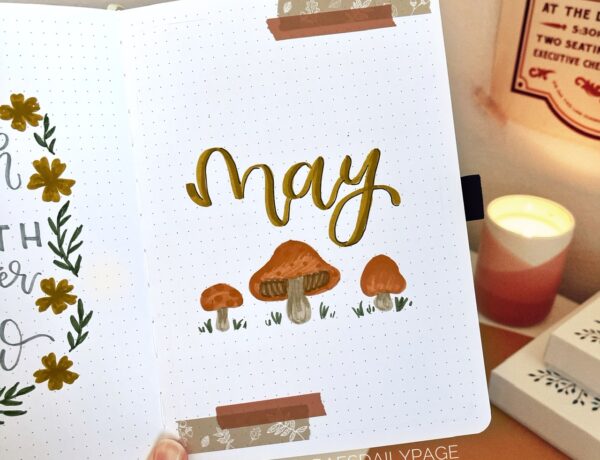
When it comes to styling you photo, I like to use either mildliners or Tombow brush pens as “props.” This adds a little more interest to the picture and fills up some of the negative space. You could also use flowers, a candle, other art supplies, or anything that looks nice with your spread.
While you can’t go wrong with taking the picture from directly above your journal, it can be fun to play around with different angles. I typically stay straight above and instead change the angle of the journal in the shot. But you can also take a picture from lower. That technique works best if you have a good background and good props. Everyone’s aesthetic is a little different, so just play around until you find what you like best.
Editing
There are tons of editing apps and programs out there, but I use, and really like, Snapseed. It’s a free app that’s easy to use. If you took you picture in good lighting you should only need minimal editing to touch up the picture. I think less is more when it comes to editing because it can start to look fake and distorted if you go overboard.
This video is an example of a picture I took with plenty of natural light, and my ring light. I follow the same steps for all of my pictures, but the levels I use depends on the picture.
The basic steps I follow:
- Tune Image
- Brightness +15
- Contrast +10
- Highlights +20
- Shadows -5
- Selective
- Place the brightness tool in dark spots of photos and increase to about 15
- Tune Image
- Brightness +5
- Highlights +10
These are the steps that I always take. The amounts are just suggests. Just watch your picture as your making your adjustments and do what looks right. There’s obviously more techniques you can use to edit your pictures, but I like to keep things pretty simple. If you have a large colored area if might be helpful to use the selective tool for saturation and structure.
This video shows a picture that was taken on a very overcast day before I got my ring light. This is an example that shows you the picture still had potential to be Instagram-worthy.

Before editing 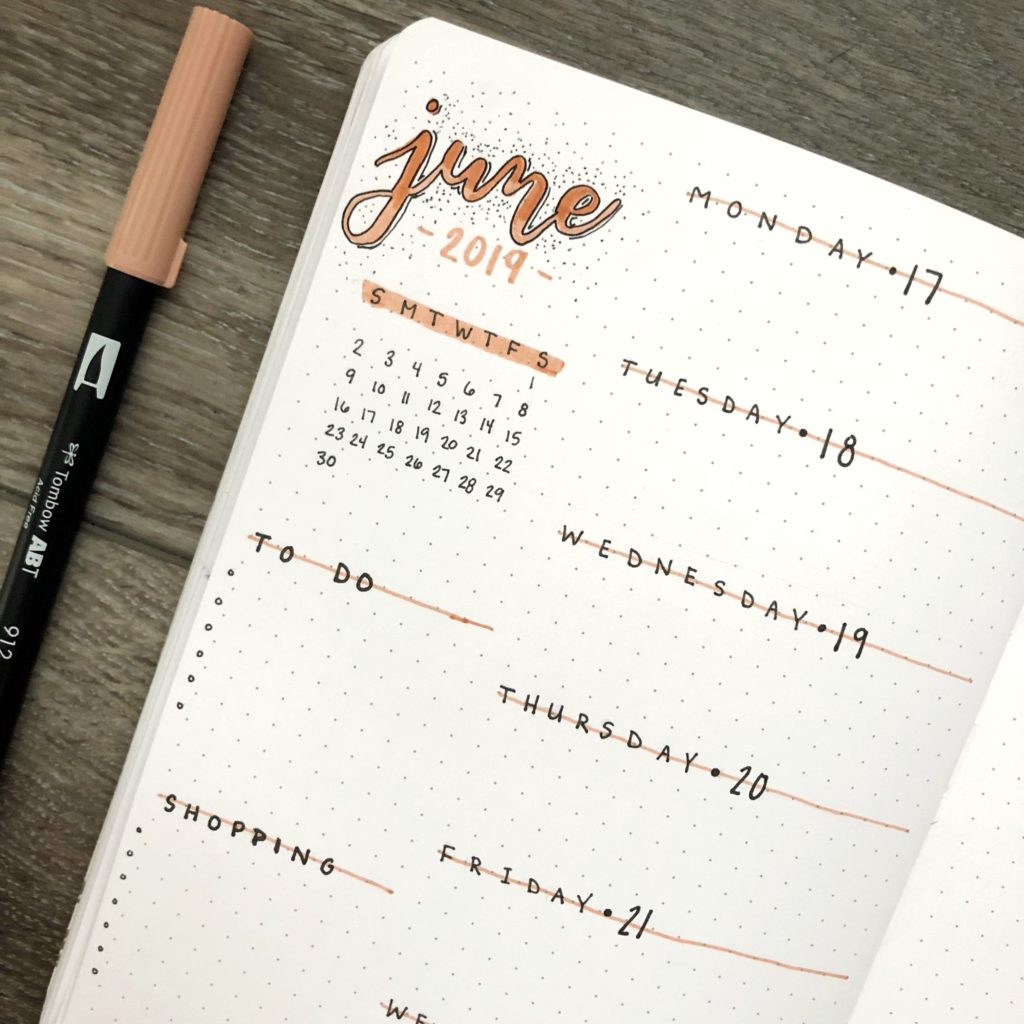
After editing
I feel like it’s important to note that there is no right or wrong way to take or edit Instagram pictures. It really is about what YOU think looks good. You can’t worry too much about likes and followers. If you continue to create high-quality content that you enjoy, likes and follows will come. And if you’ve never taken pictures of your bullet journal, I will say that the bullet journal community on Instagram is awesome. It is full of talented, supportive and really nice people. It’s a great place to get inspiration and put yourself and your work out there.