
*This post contains affiliate links. If you make a purchase through a link I may make a small commission at no additional cost to you. Thank you for supporting Rae’s Daily Page.
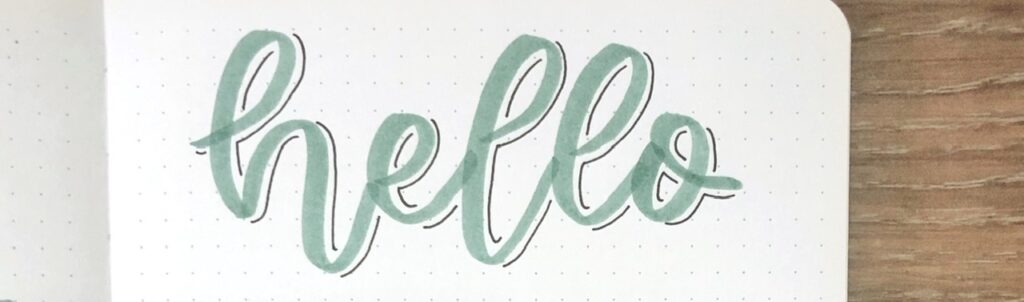
So you’ve been practicing your hand lettering and calligraphy and you’ve gotten pretty good at it, but now you’re wanting to kick it up a notch? Adding shadows is the perfect way to make your lettering pop!
There are so many different options for adding shadows to your calligraphy and I’m going to share a few with you today. While there are many stylistic options, they all follow the same basic technique and once you get the hang out it you’ll be adding shadows to everything!
*If you’re brand new to brush lettering or would like to improve your lettering, I have a printable Guide to Modern Calligraphy and Handlettering in my shop.
Supplies List
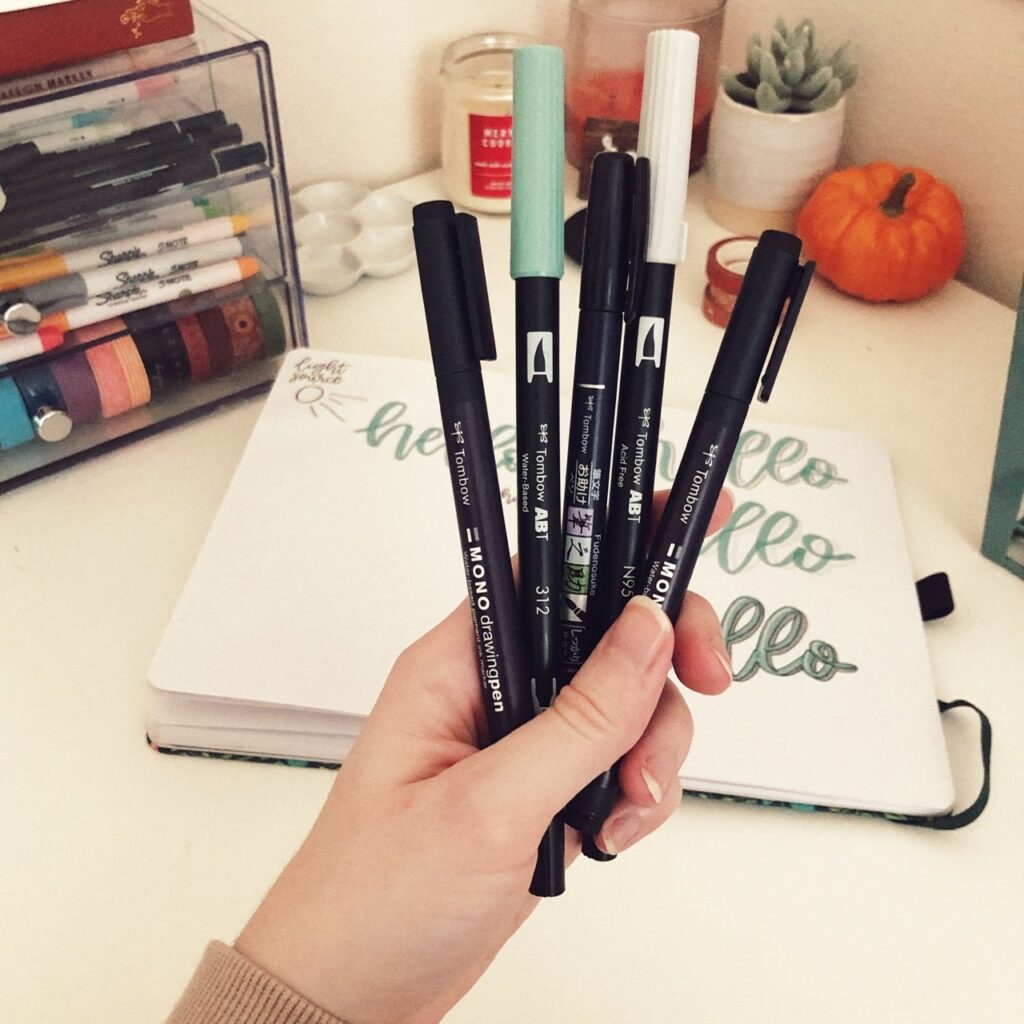
- Tombow Dual Brush Pens– No. 312 & No. N95
- Tombow Mono Drawing Pens
- Tombow Fudenosuke Pens
- Optional- White Gel Pen
Identify Your Light Source
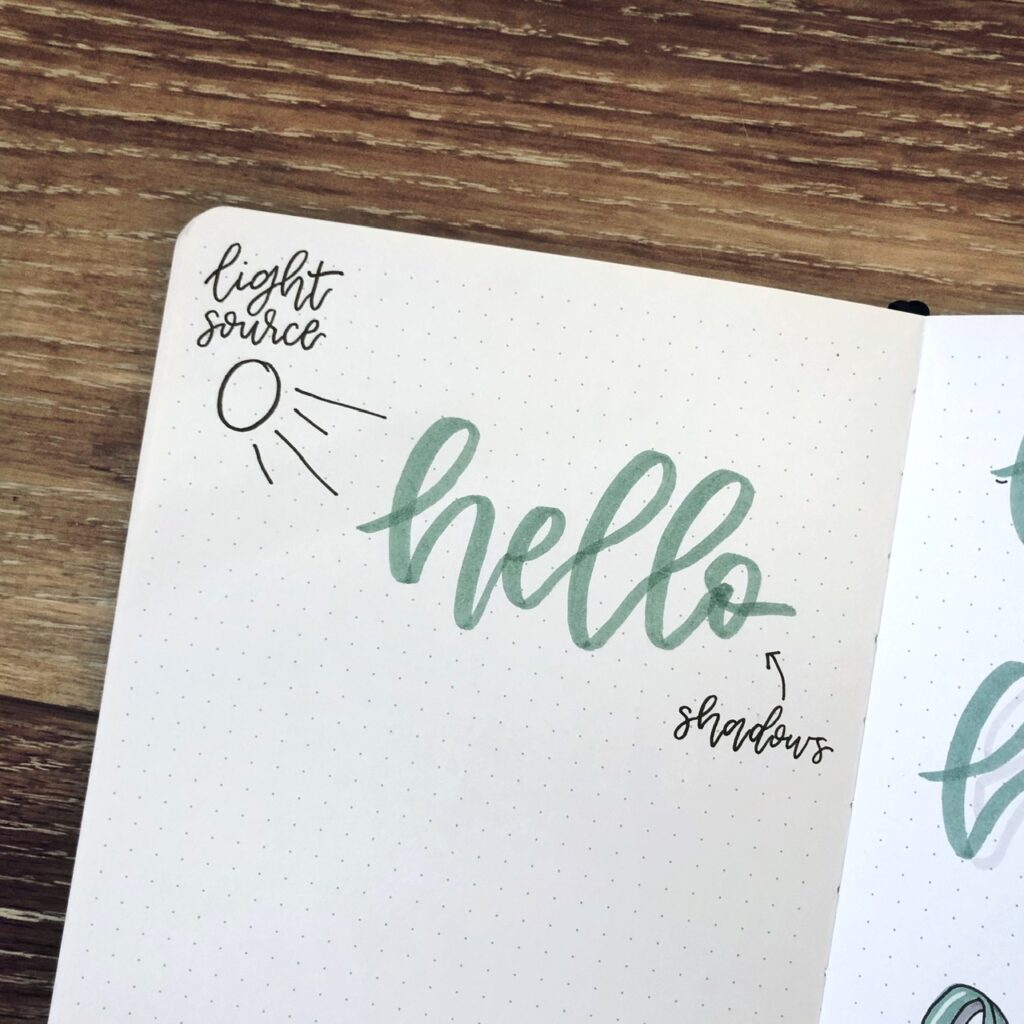
Adding shadows to your lettering follows that same principles of shadows in real life. The only difference is you get to choose where your light source is.
Pick a spot on your page where you want your light source. Mark that spot with a pencil to reference while you add your shadows. After you get the hang of it, you probably won’t need to mark your paper anymore, you’ll just need to know where your light is.
Shadows will always appear on the opposite side of where the light hits. You need to look at each individual stroke, not just each letter. The side closest to the light will have no shadow, and the side farthest from the light will have a shadow.
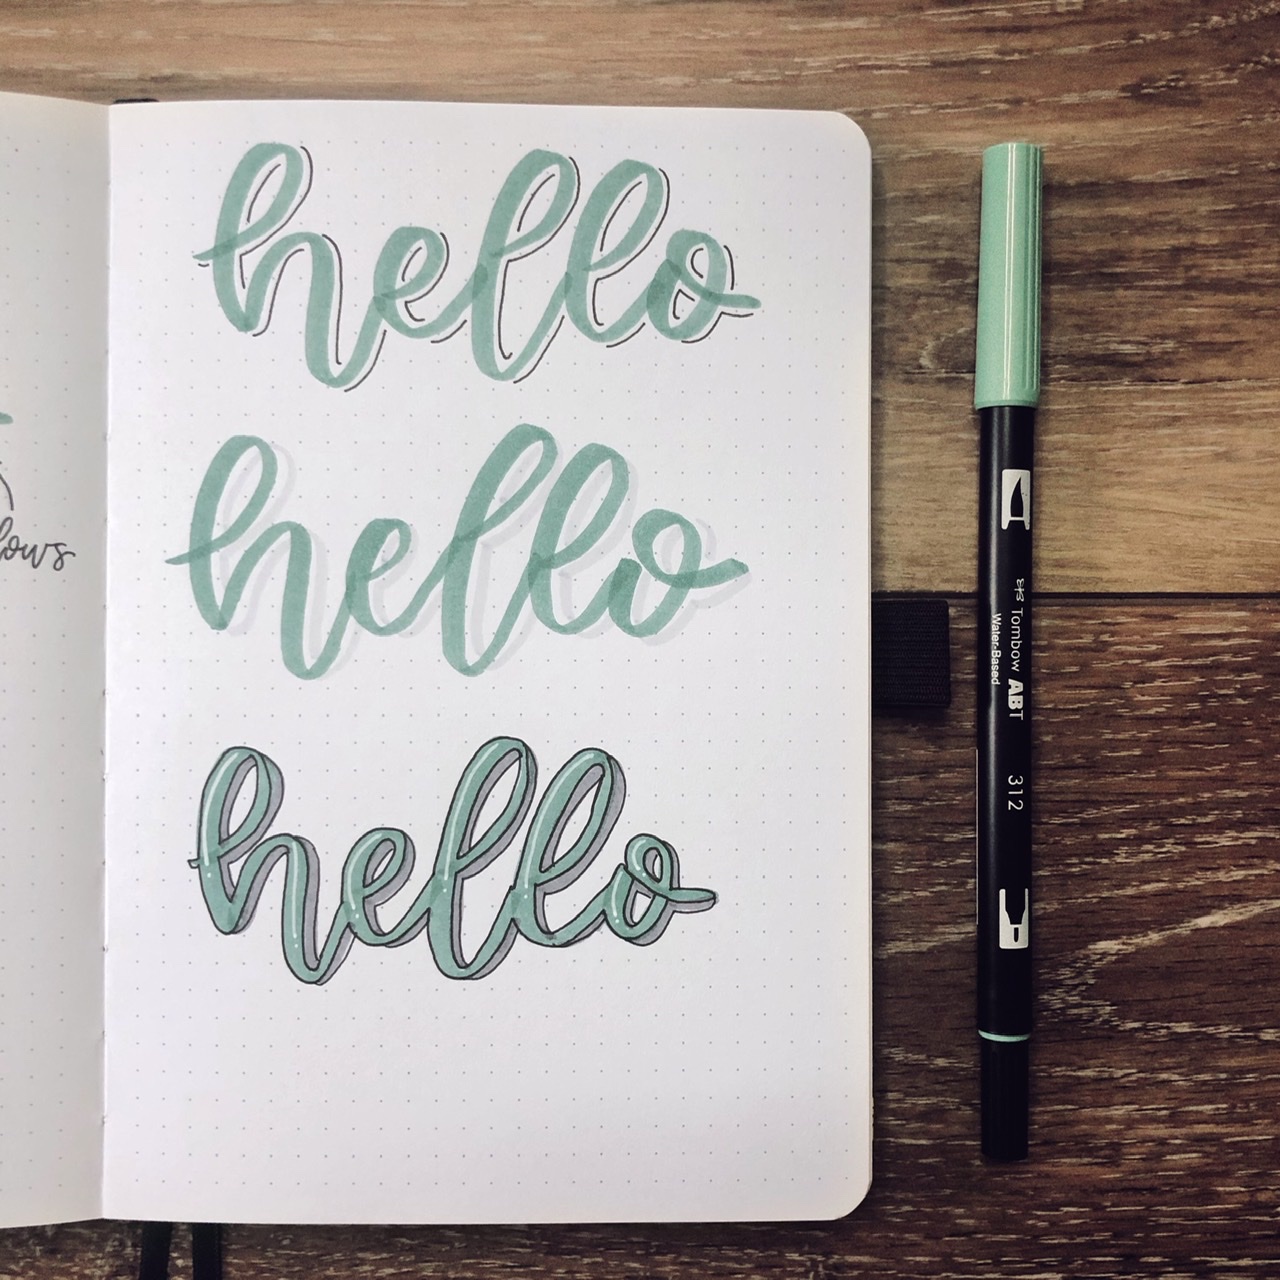
Different Shadow Types
I’ve broken down the shadow types into three main categories. There is some overlap between the categories because you can combine multiple techniques at once. This list is no where close to all the possibilities, but it’s enough to get you practicing!
- Black Line
- Grey Shadow
- Empty Space
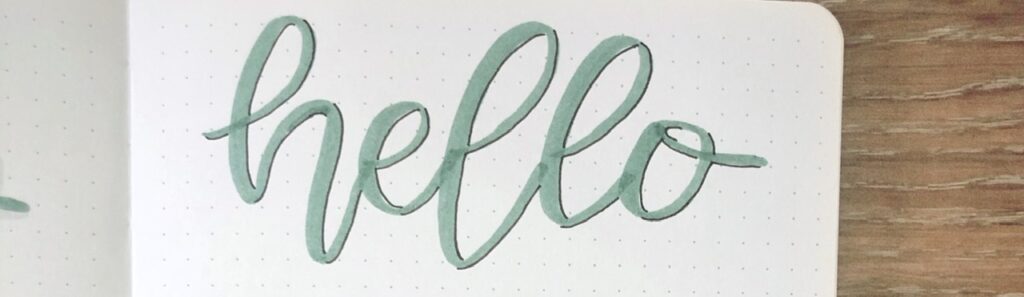
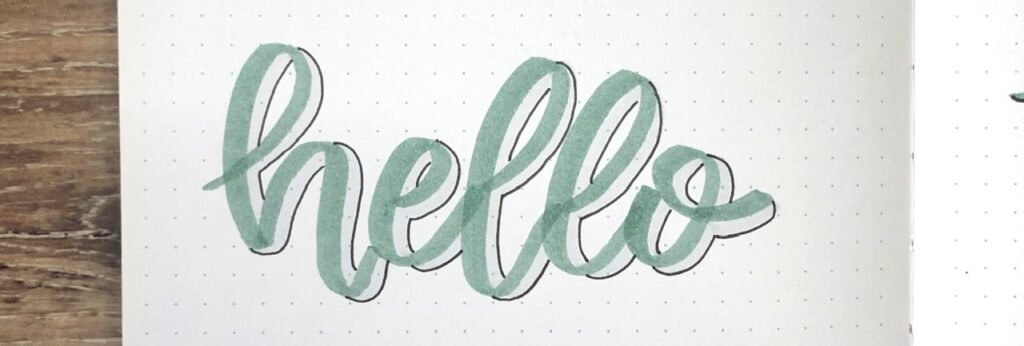
Simple Black Lines
Simple black line shadows is exactly what it sounds like. Use a black pen to make your shadows. Different variations include using thin lines vs thick lines, and adding a grey shadow behind the line.
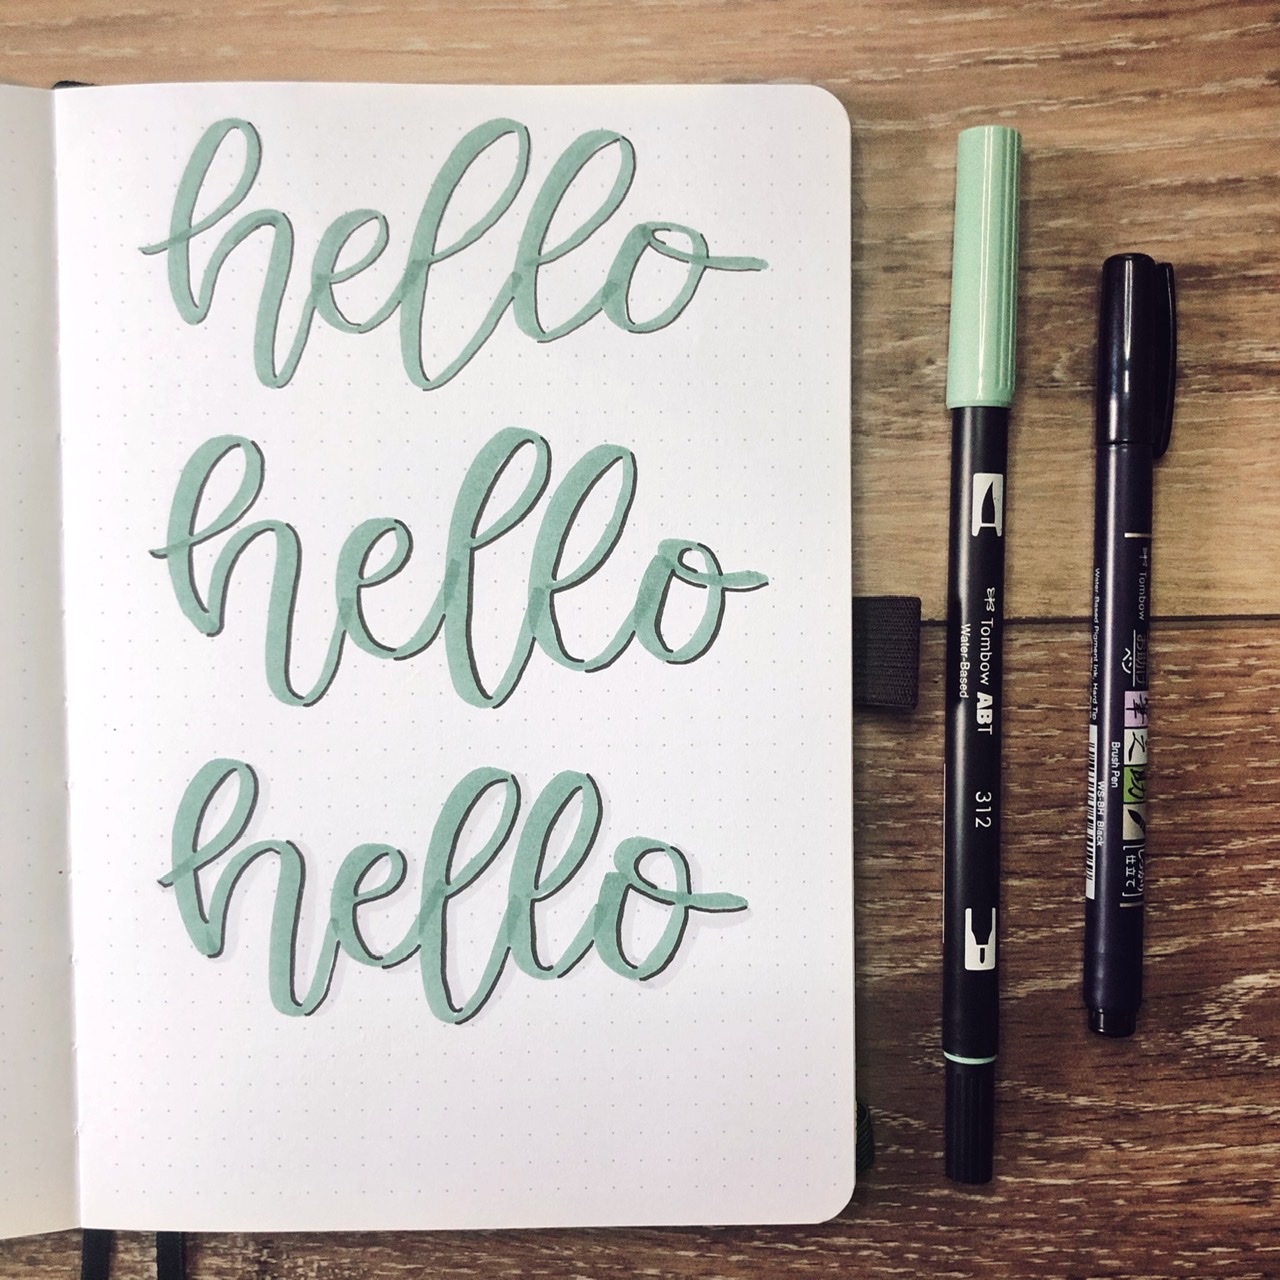
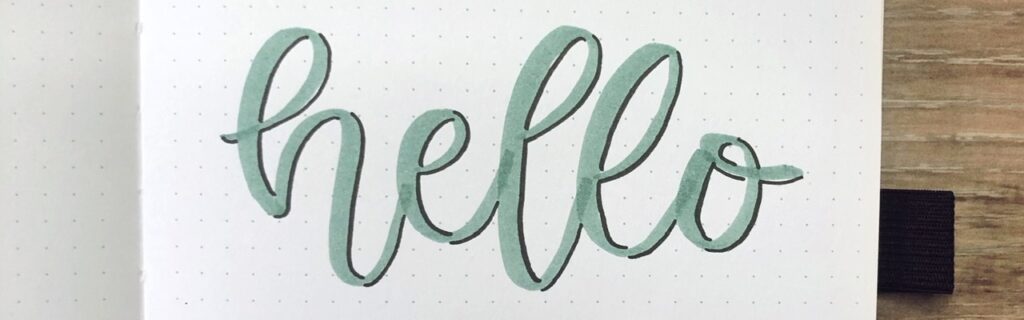

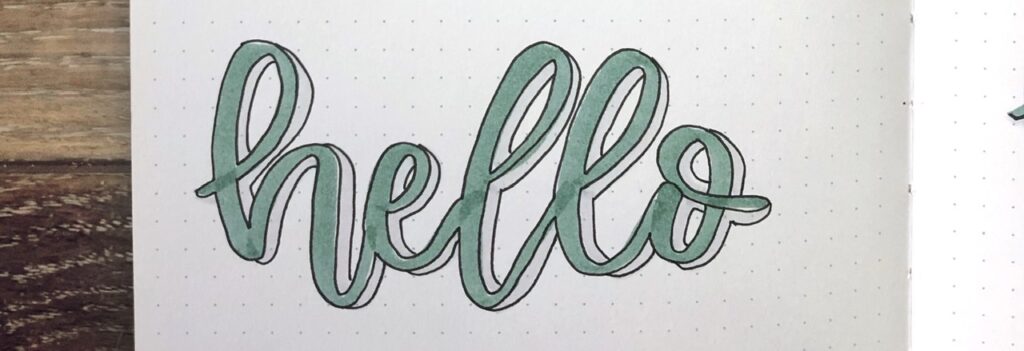
Grey Shadow
For grey shadows, use a grey brush pen to add the shadows. You can also add a black line shadow behind the grey. Or you can outline the entire word first, add the grey shadow, and then add a black line shadow.

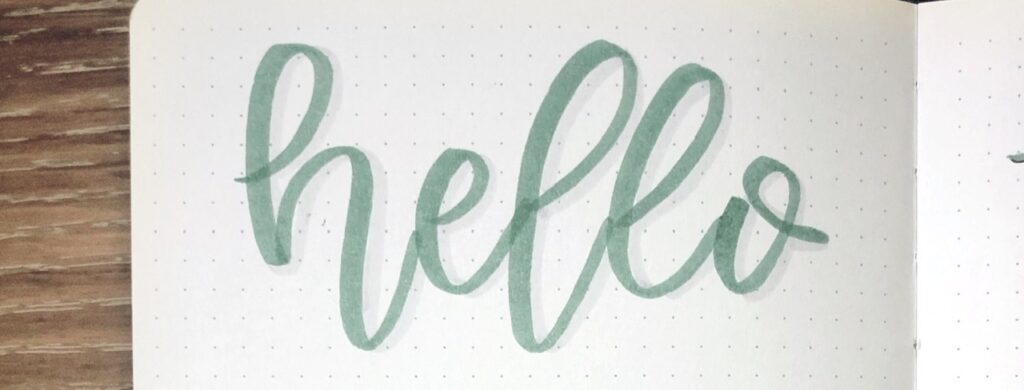
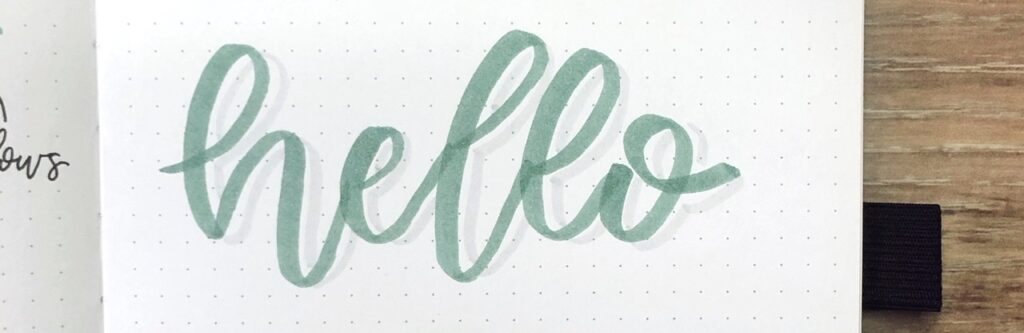
Empty Space Shadow
This is probably my favorite shadow technique. Leave an empty space before you add a black line or grey shadow. This technique really adds dimension to your lettering
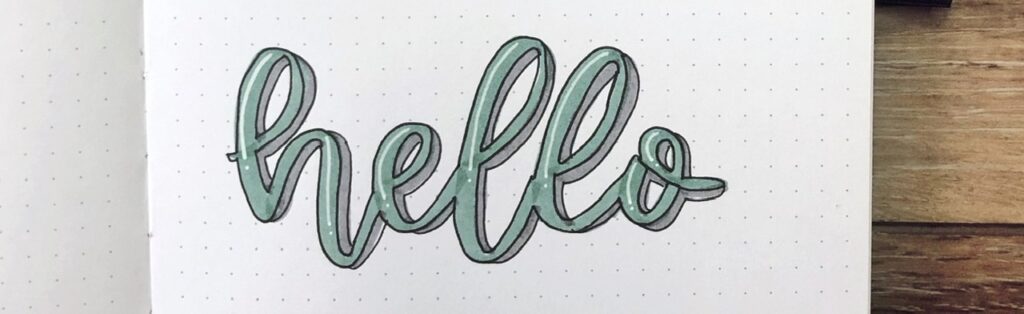
This last one shows you one way to combine your shadows AND a highlight. Highlights appear on the side closet to your light source. The easiest way to add a highlight is with a white gel pen. This adds even more depth to your lettering.
Other Shadow Ideas
Like I mentioned, this is not a complete list of all the ways to add shadows to lettering. Now that your understand the technique, you can really get creative. Move your light source around in different spots. Combine several stlyes. Use different colors shadows. Example: if your lettering in a dark green, use a light green shadow (the same way you would with a grey shadow).
Let me know your favorite style in the comments!